When ordering my Original Prusa MINI way back in April this year, midst the Corona crisis, I did not anticipate the 4 months of inpatient waiting time. Prusa Research stopped the shipping of 3D printers during the Corona crisis, to produce the urgently needed face shields for hospitals, which stands for Josef Prusa’s innovative personality.
Now, I am assembling the arrived Prusa MINI 3D printer, which can be done with some minor and simple steps within around 30 minutes.
Acquiring an original Prusa model was a deliberate decision, as I am a big fan of local innovation. That said, Prague only 250 km away from my hometown, I loved to see that Josef Prusa did set up his Prusa Research company in the heart of the beautiful city of Prague, rather than producing in China or anywhere abroad.
The assembly instructions already prove this argument right, as it delivers a clear step-by-step guide, how to finalize the printer, interrupted by occasional intake of Haribo sweets (that came with the printer).
See below the finished assembly of the printer:
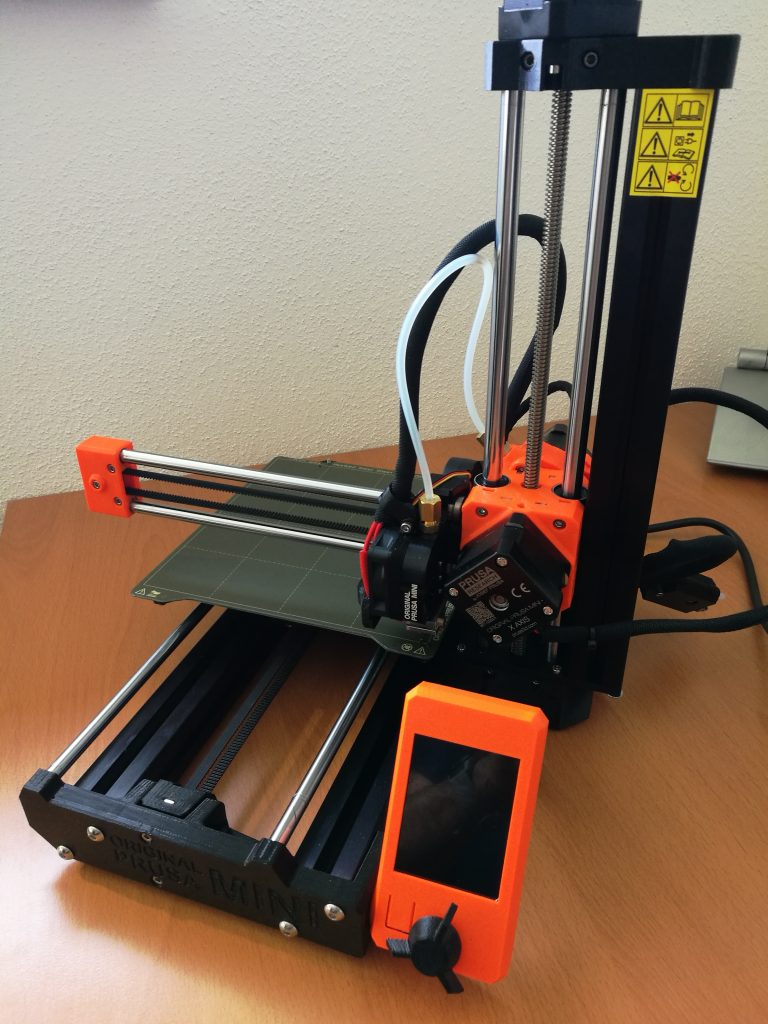
Finished assembly of my Original Prusa MINI printer
Starting the printer the first time, it starts the self-test that automatically checks if the critical parts are all working within the given tolerances. Once the self-test is finished, the printer needs a first calibration of the desired z-distance, which is critical for the overall quality of each print. By using the click wheel, the user has to adjust the offset position of the extruder towards the print bed.
Calibration process is really user friendly and the click wheel appears to be a simple and effective input method, which reminds me about the iPod wheel.
The color display and menu structure is exceptionally well defined, again a prove that an original Prusa printer is way ahead of no-name China competition.
Another great benefit of a Prusa printer is the lively community and active development of its firmware, that constantly thrives forward in terms of adding features and fine tuning of stability and usability.
After I performed my first print on the fresh calibrated 3D printer, I found that its level of detail and smooth surface is comparable, or even superior to the 2K Euro printer we operate at work.
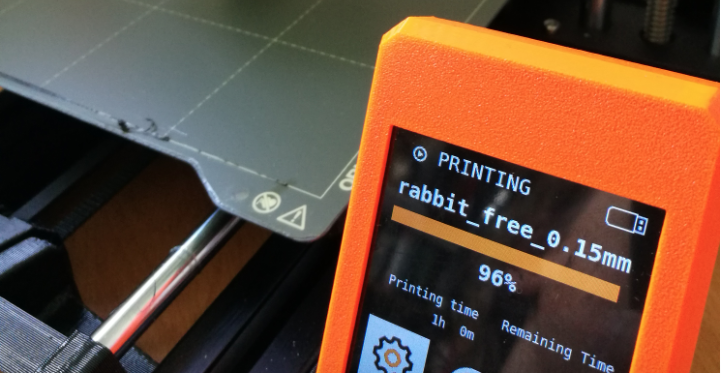
Next step for me will be to explore the newly added Ethernet connectivity features, that came along with the Prusa Mini. A connection to your network means that you can remotely monitor the progress of your print and to read out some telemetry data during each print. Josef Prusa states that the networking capability is just a first glance of what is coming in the future, as we can imagine a lot of beneficial networked features that can come out of that statement. A networked 3D printer is definitely a must for operating large scale 3D printing farms, as print jobs can be distributed automatically.
Overall, I am happy that my decision to buy an original Prusa designed printer turned out as the best choice!
See below some examples of our first steps with the newly arrived Prusa Mini printer:
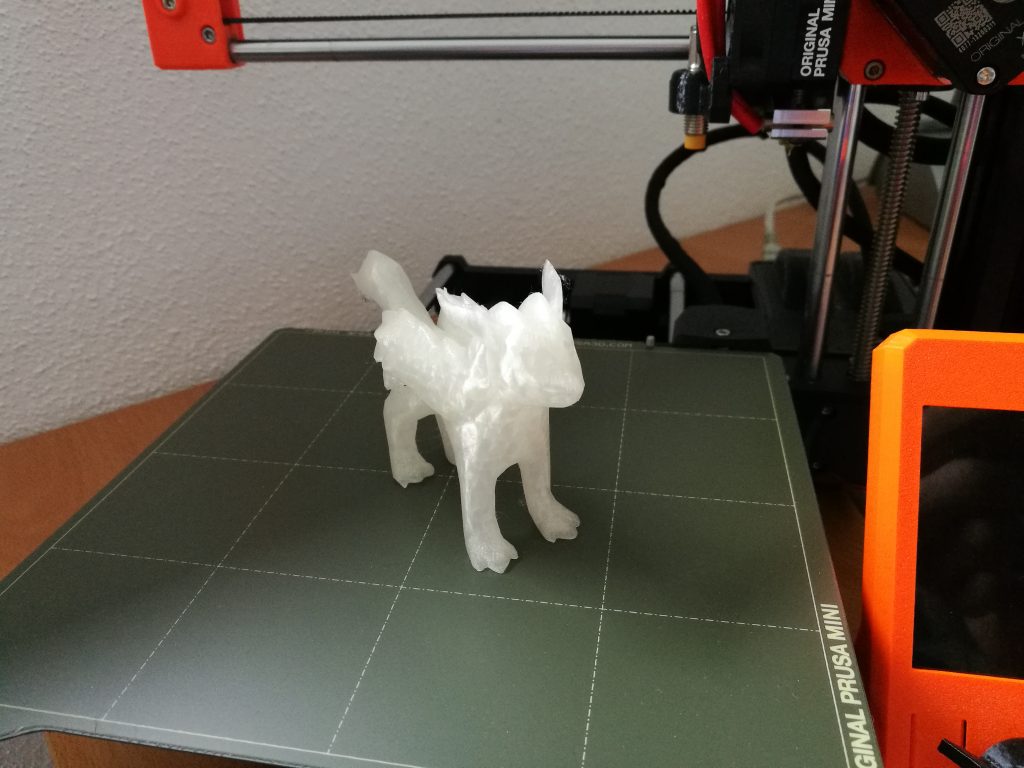
Pokemon print with Natural translucent Filament
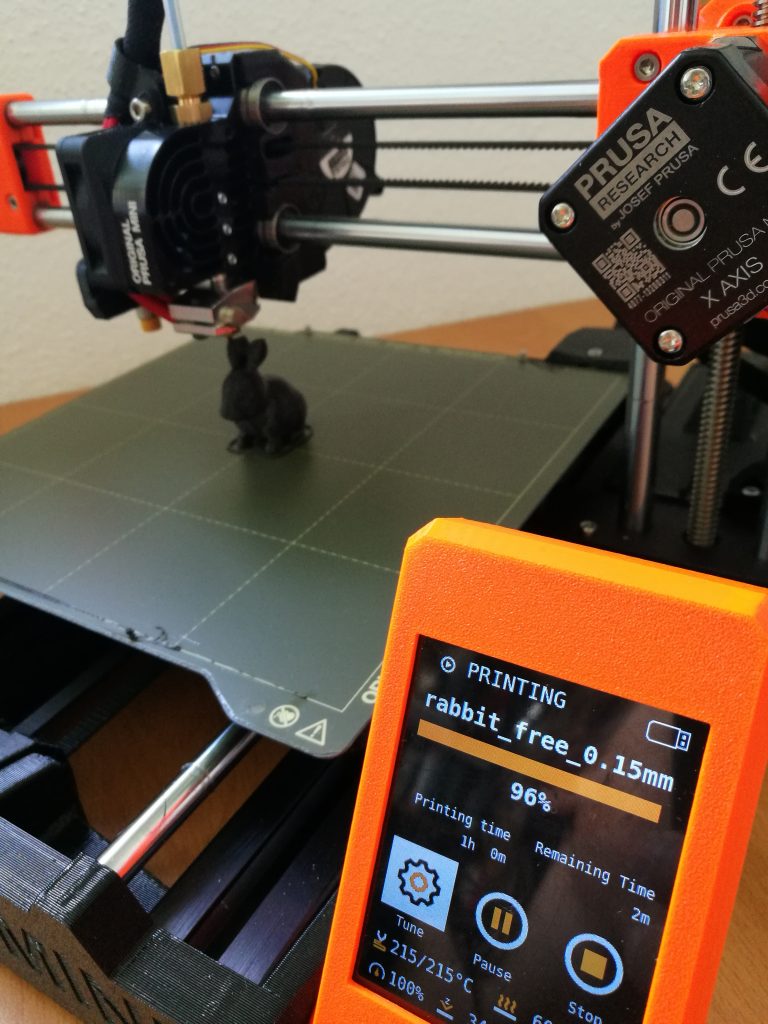
Print of a small rabbit with Prusa Filament
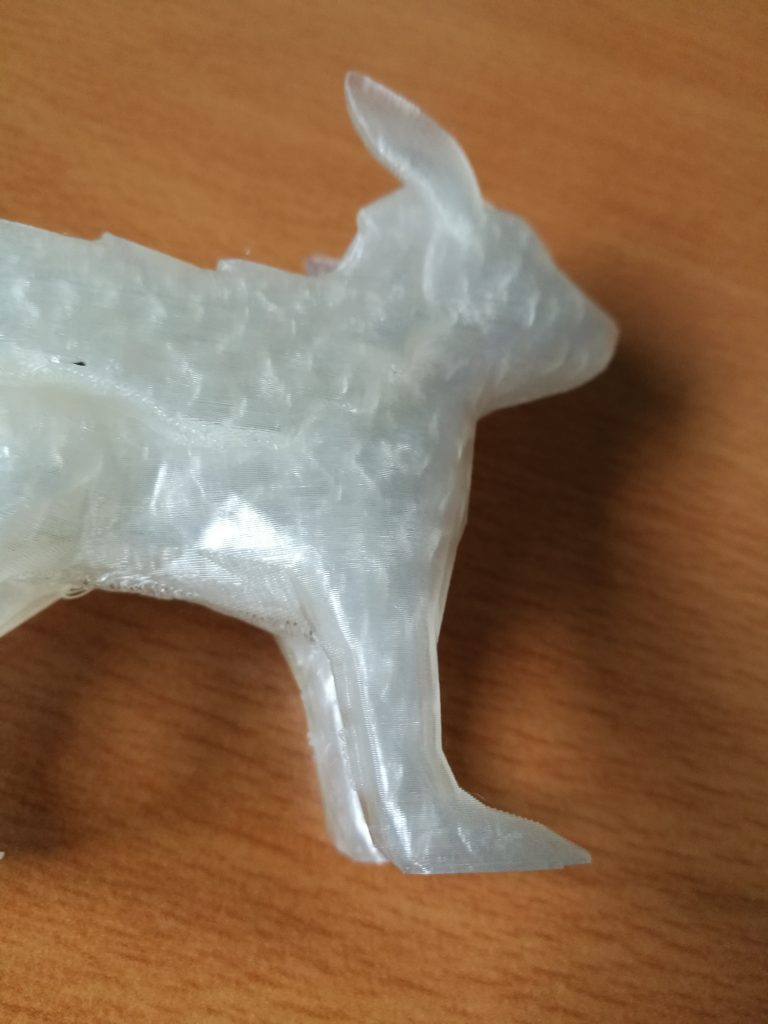
Translucent, natural Filament