Coding is the lingua franca for all citizen in a modern technological society. By adapting any programming language your kids can learn very important skills, such as abstraction of a problem, defining and structuring a solution and to use a sequence of simple steps to fulfill complex tasks. Beside all the educational benefits of learning to use a programming language it is a lot of fun to see and experience your own programs while performing their autonomous tasks.
Another important skill within the actual technological society is to understand and control robotic hardware or electronics in general.
Nothing is more exiting for your kids as if something moves, makes a sound or blinks a lot of lights. Believe me when I say that kids are native robot and automation enthusiasts!
That said, I was really exited as I read about a vivid community of electronics and programming experts that shared the same idea of building the open educational robotics platform OttoDIY. OttoDIY offers all necessary resources, such as electronics, servos, sensors along with 3D printing models of the robot’s body parts to quickly jump into the world of electronics and robotic motion.
The OttoDIY community does share all information that is necessary to quickly print your own Otto robot and assemble the electronics.
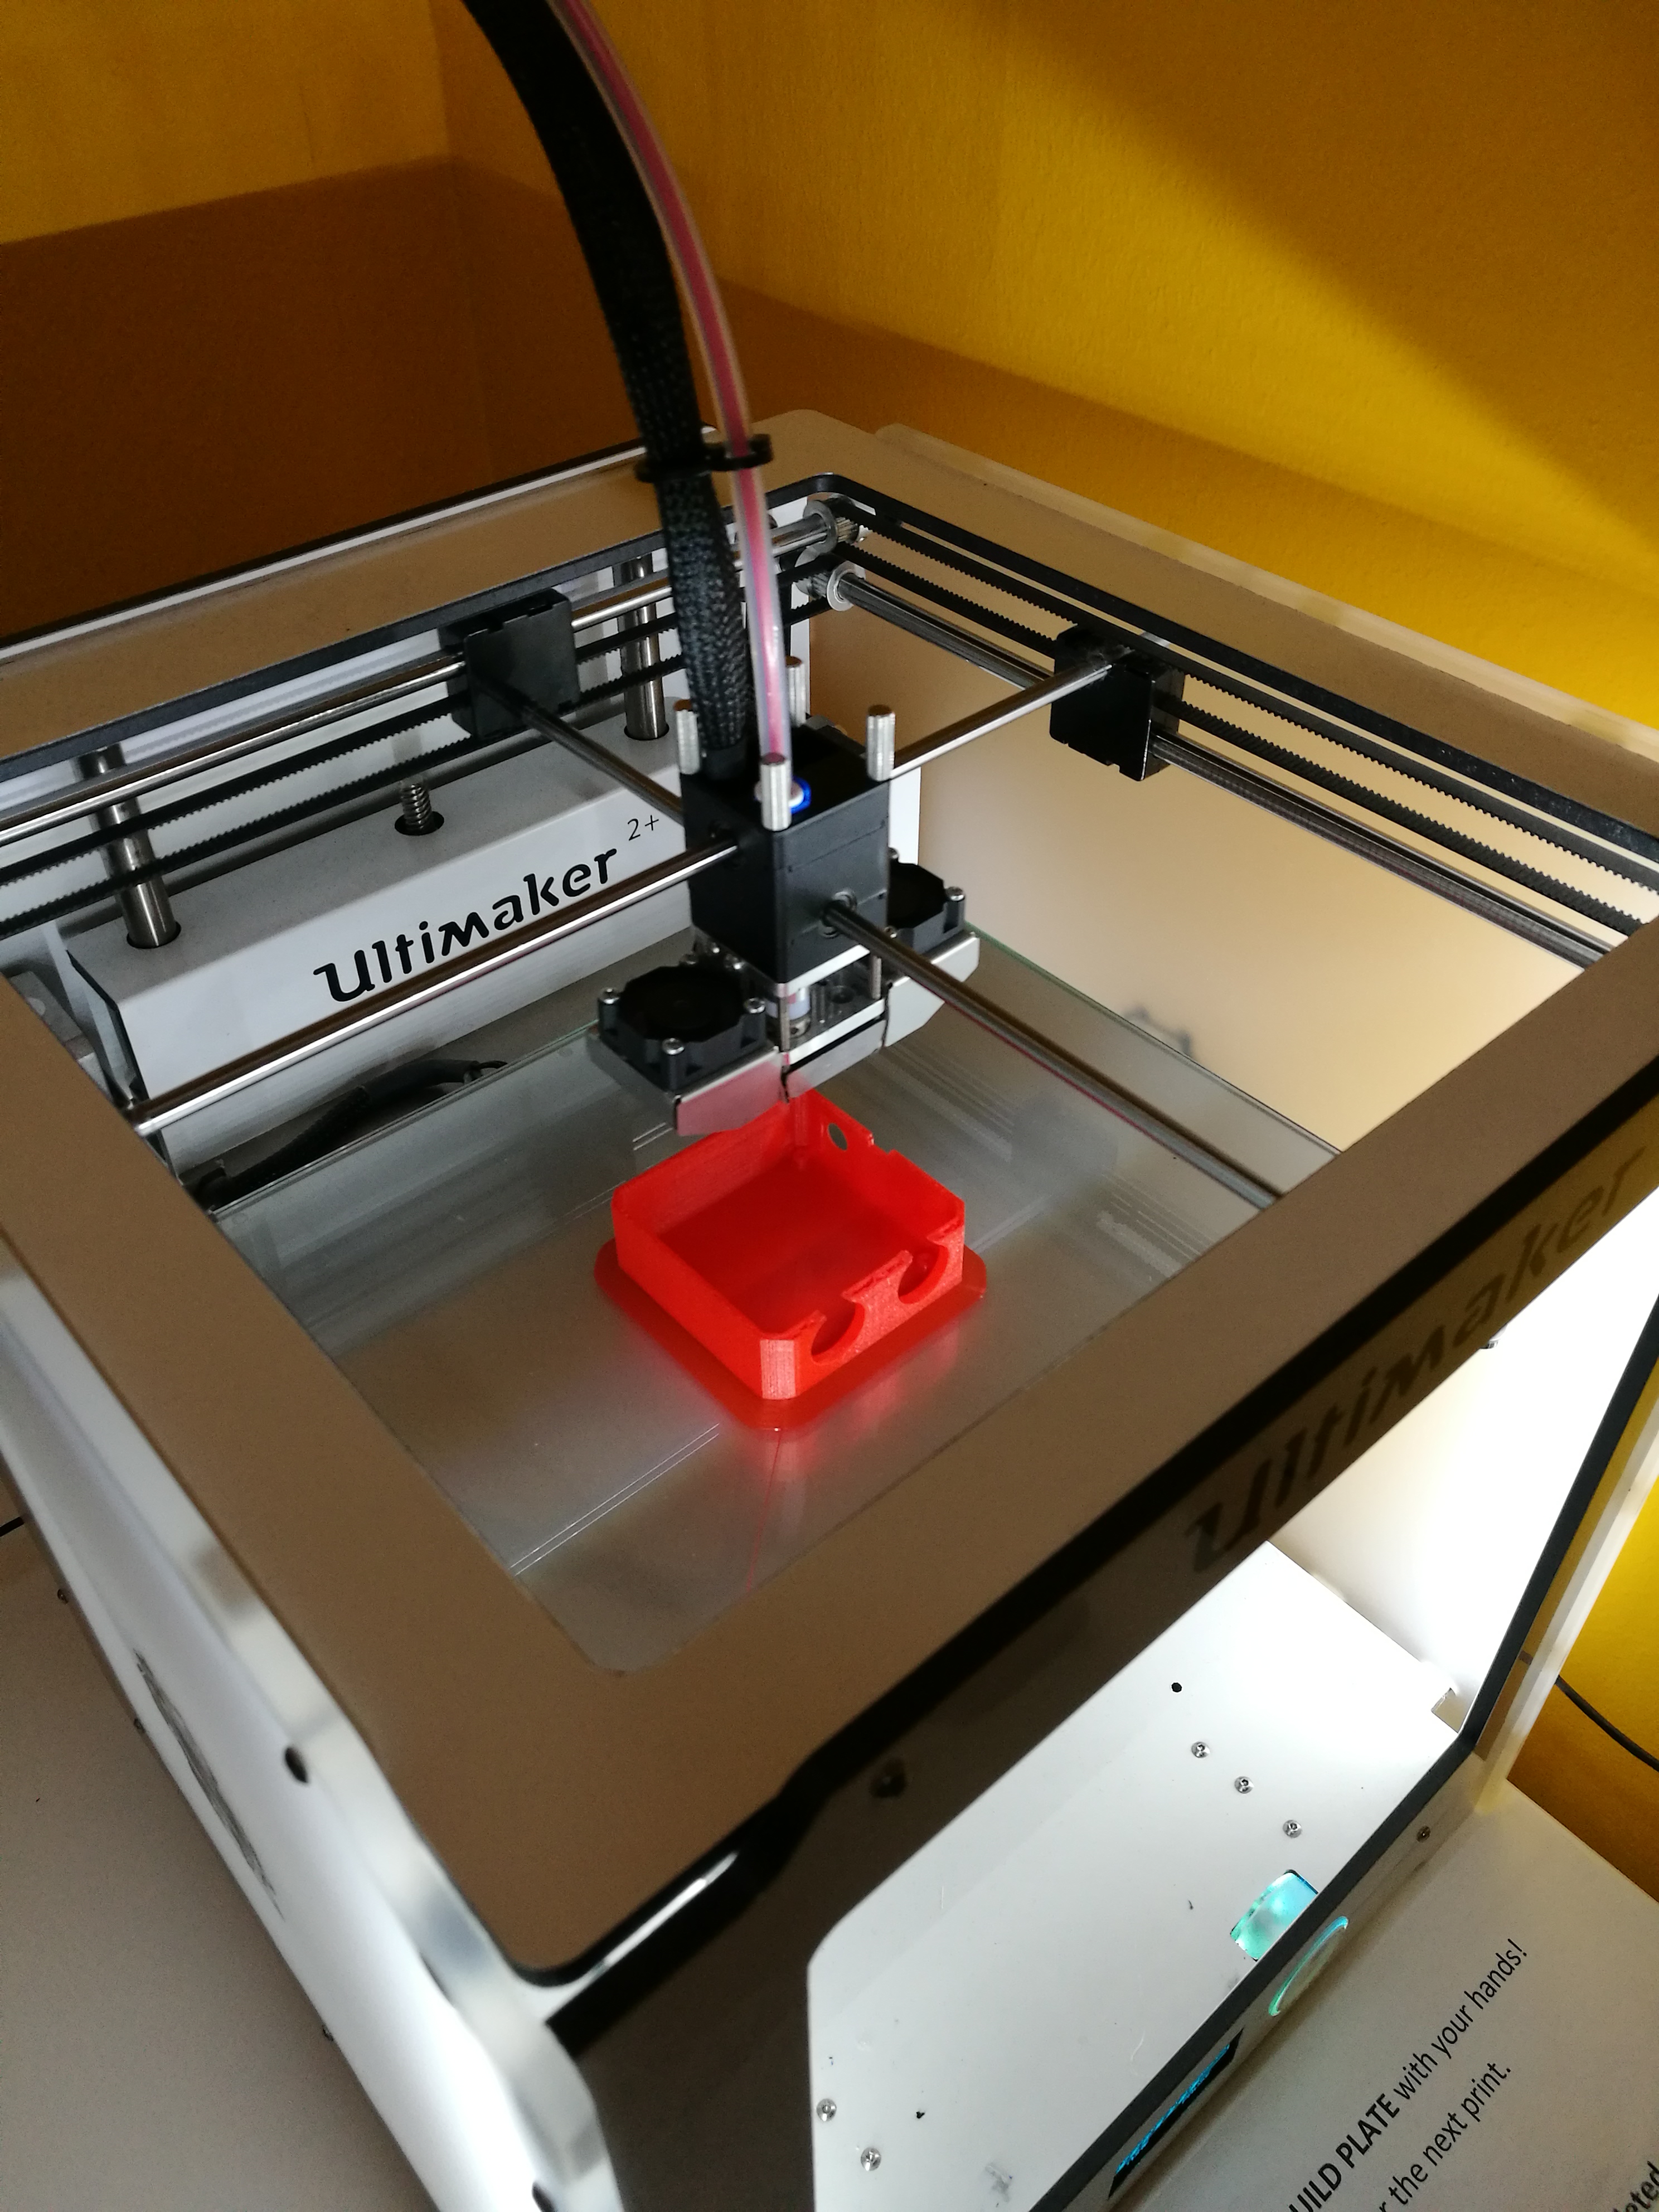
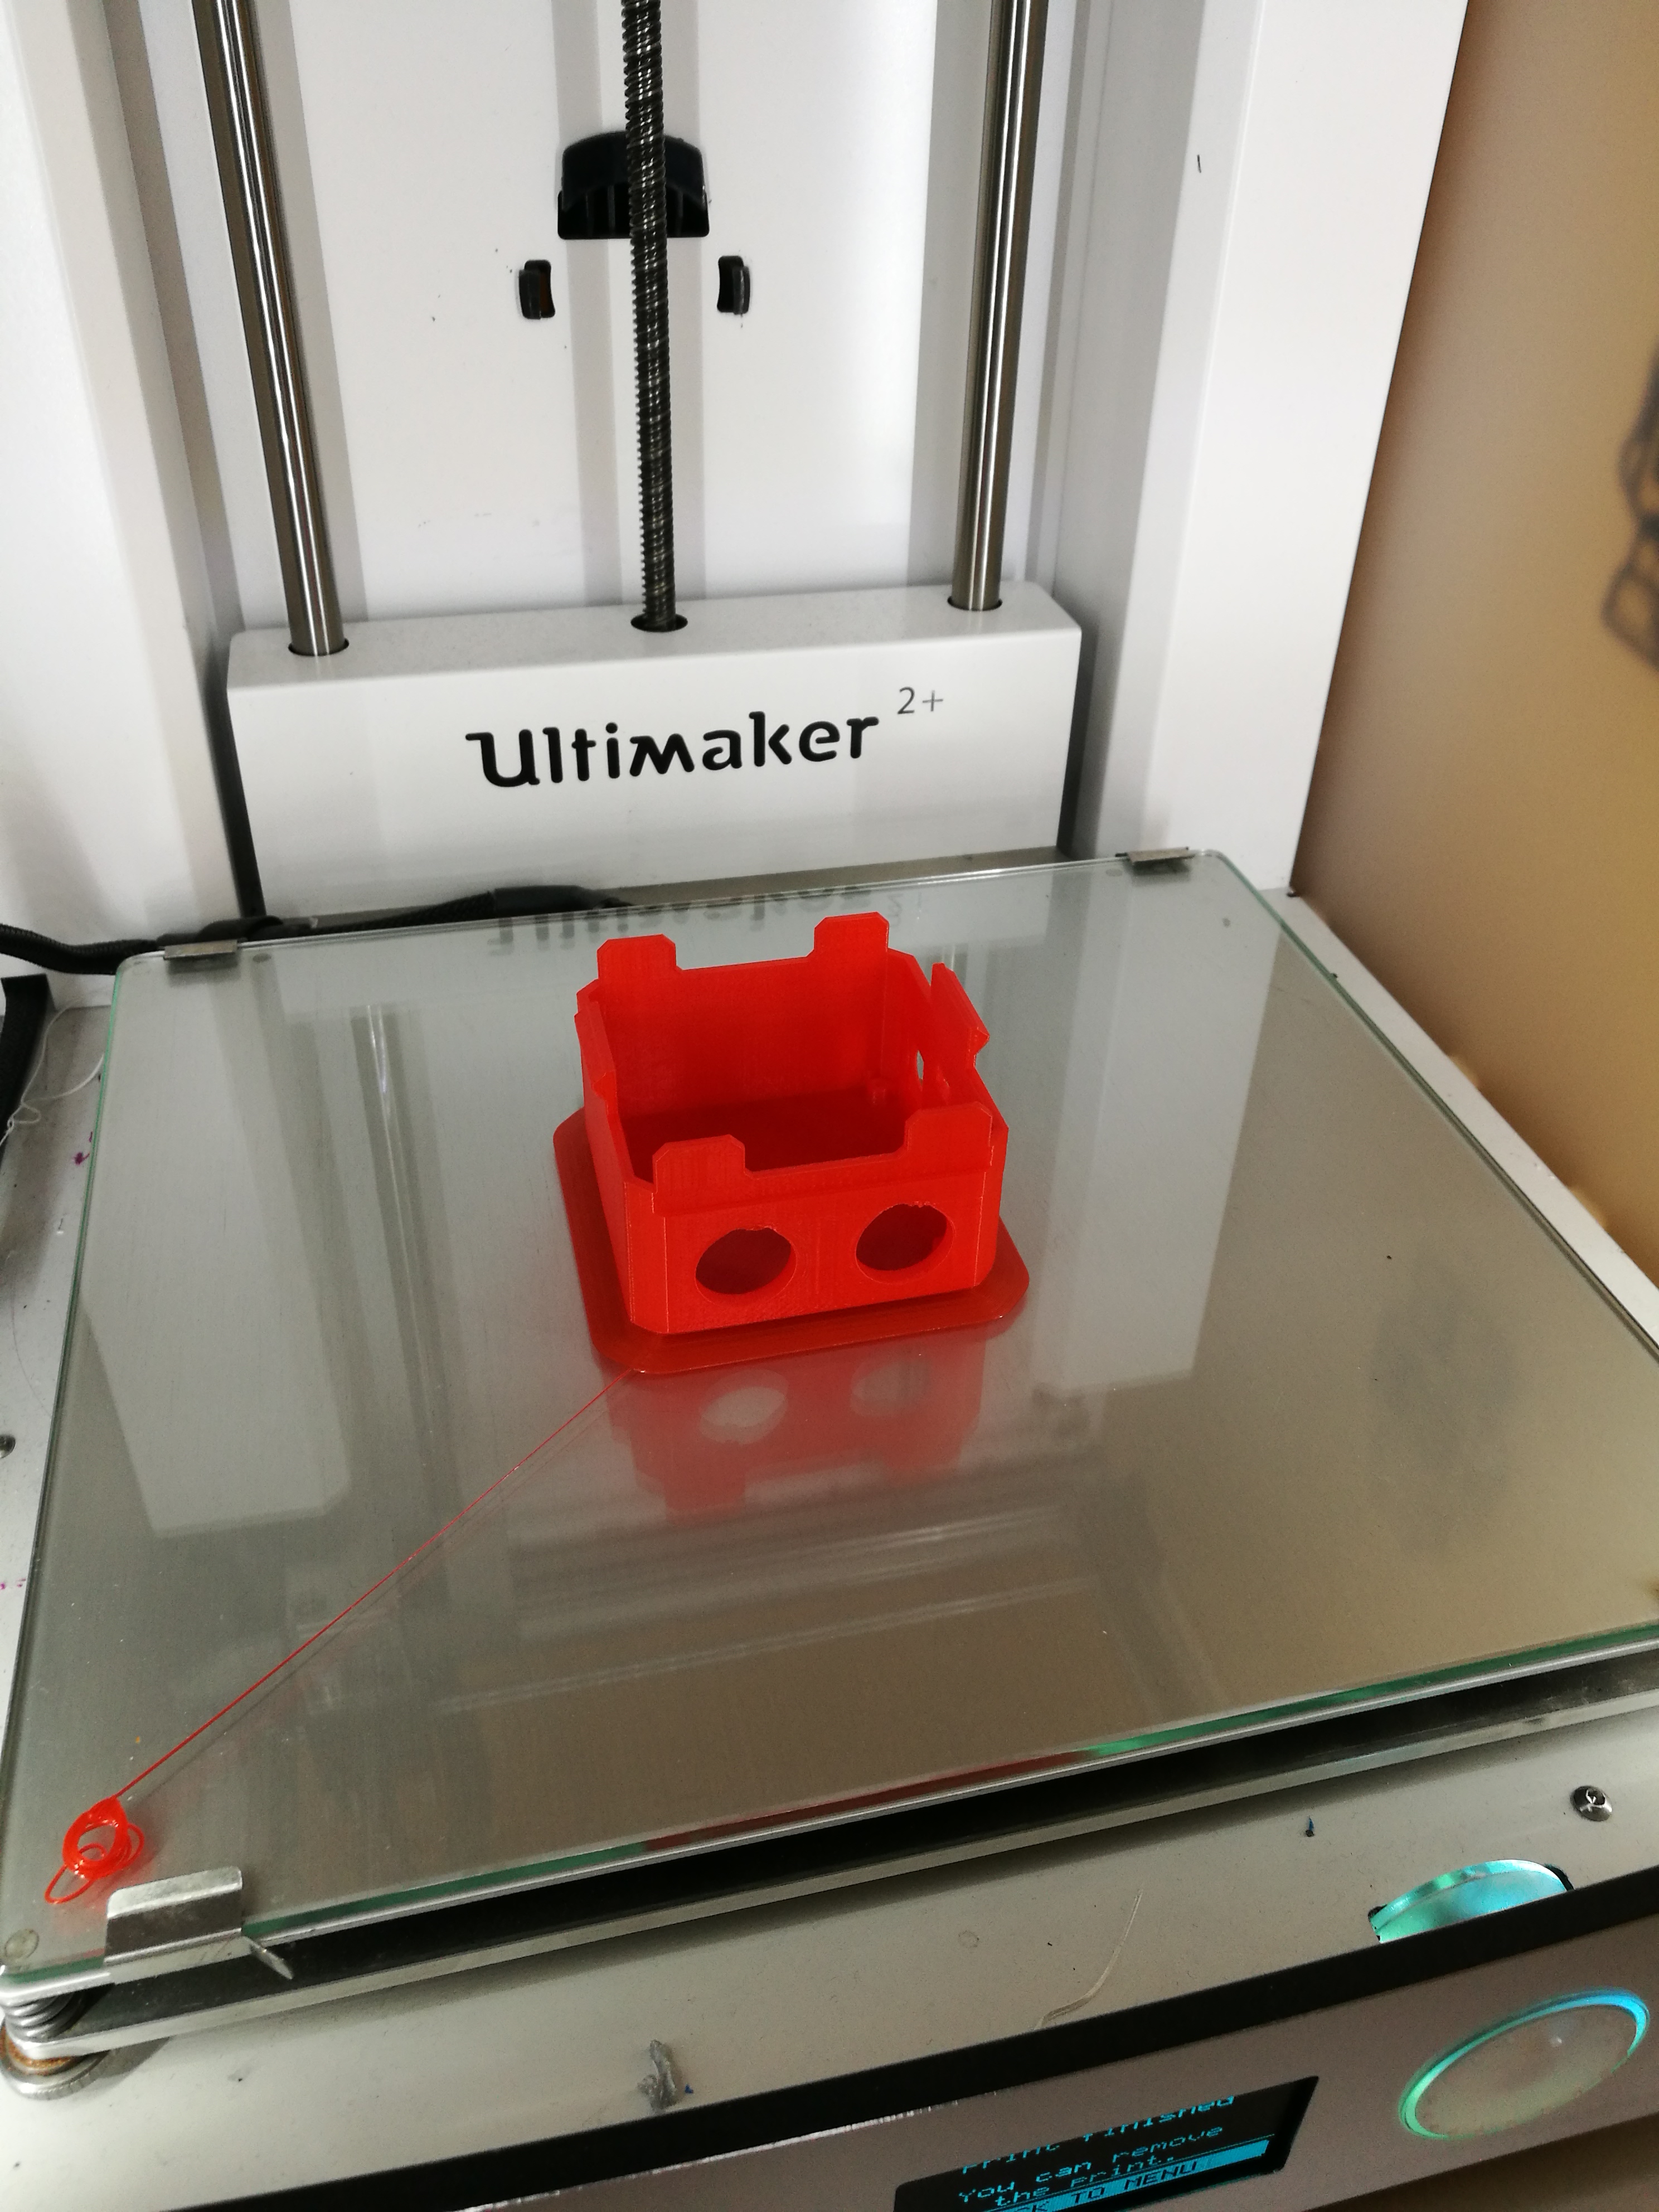
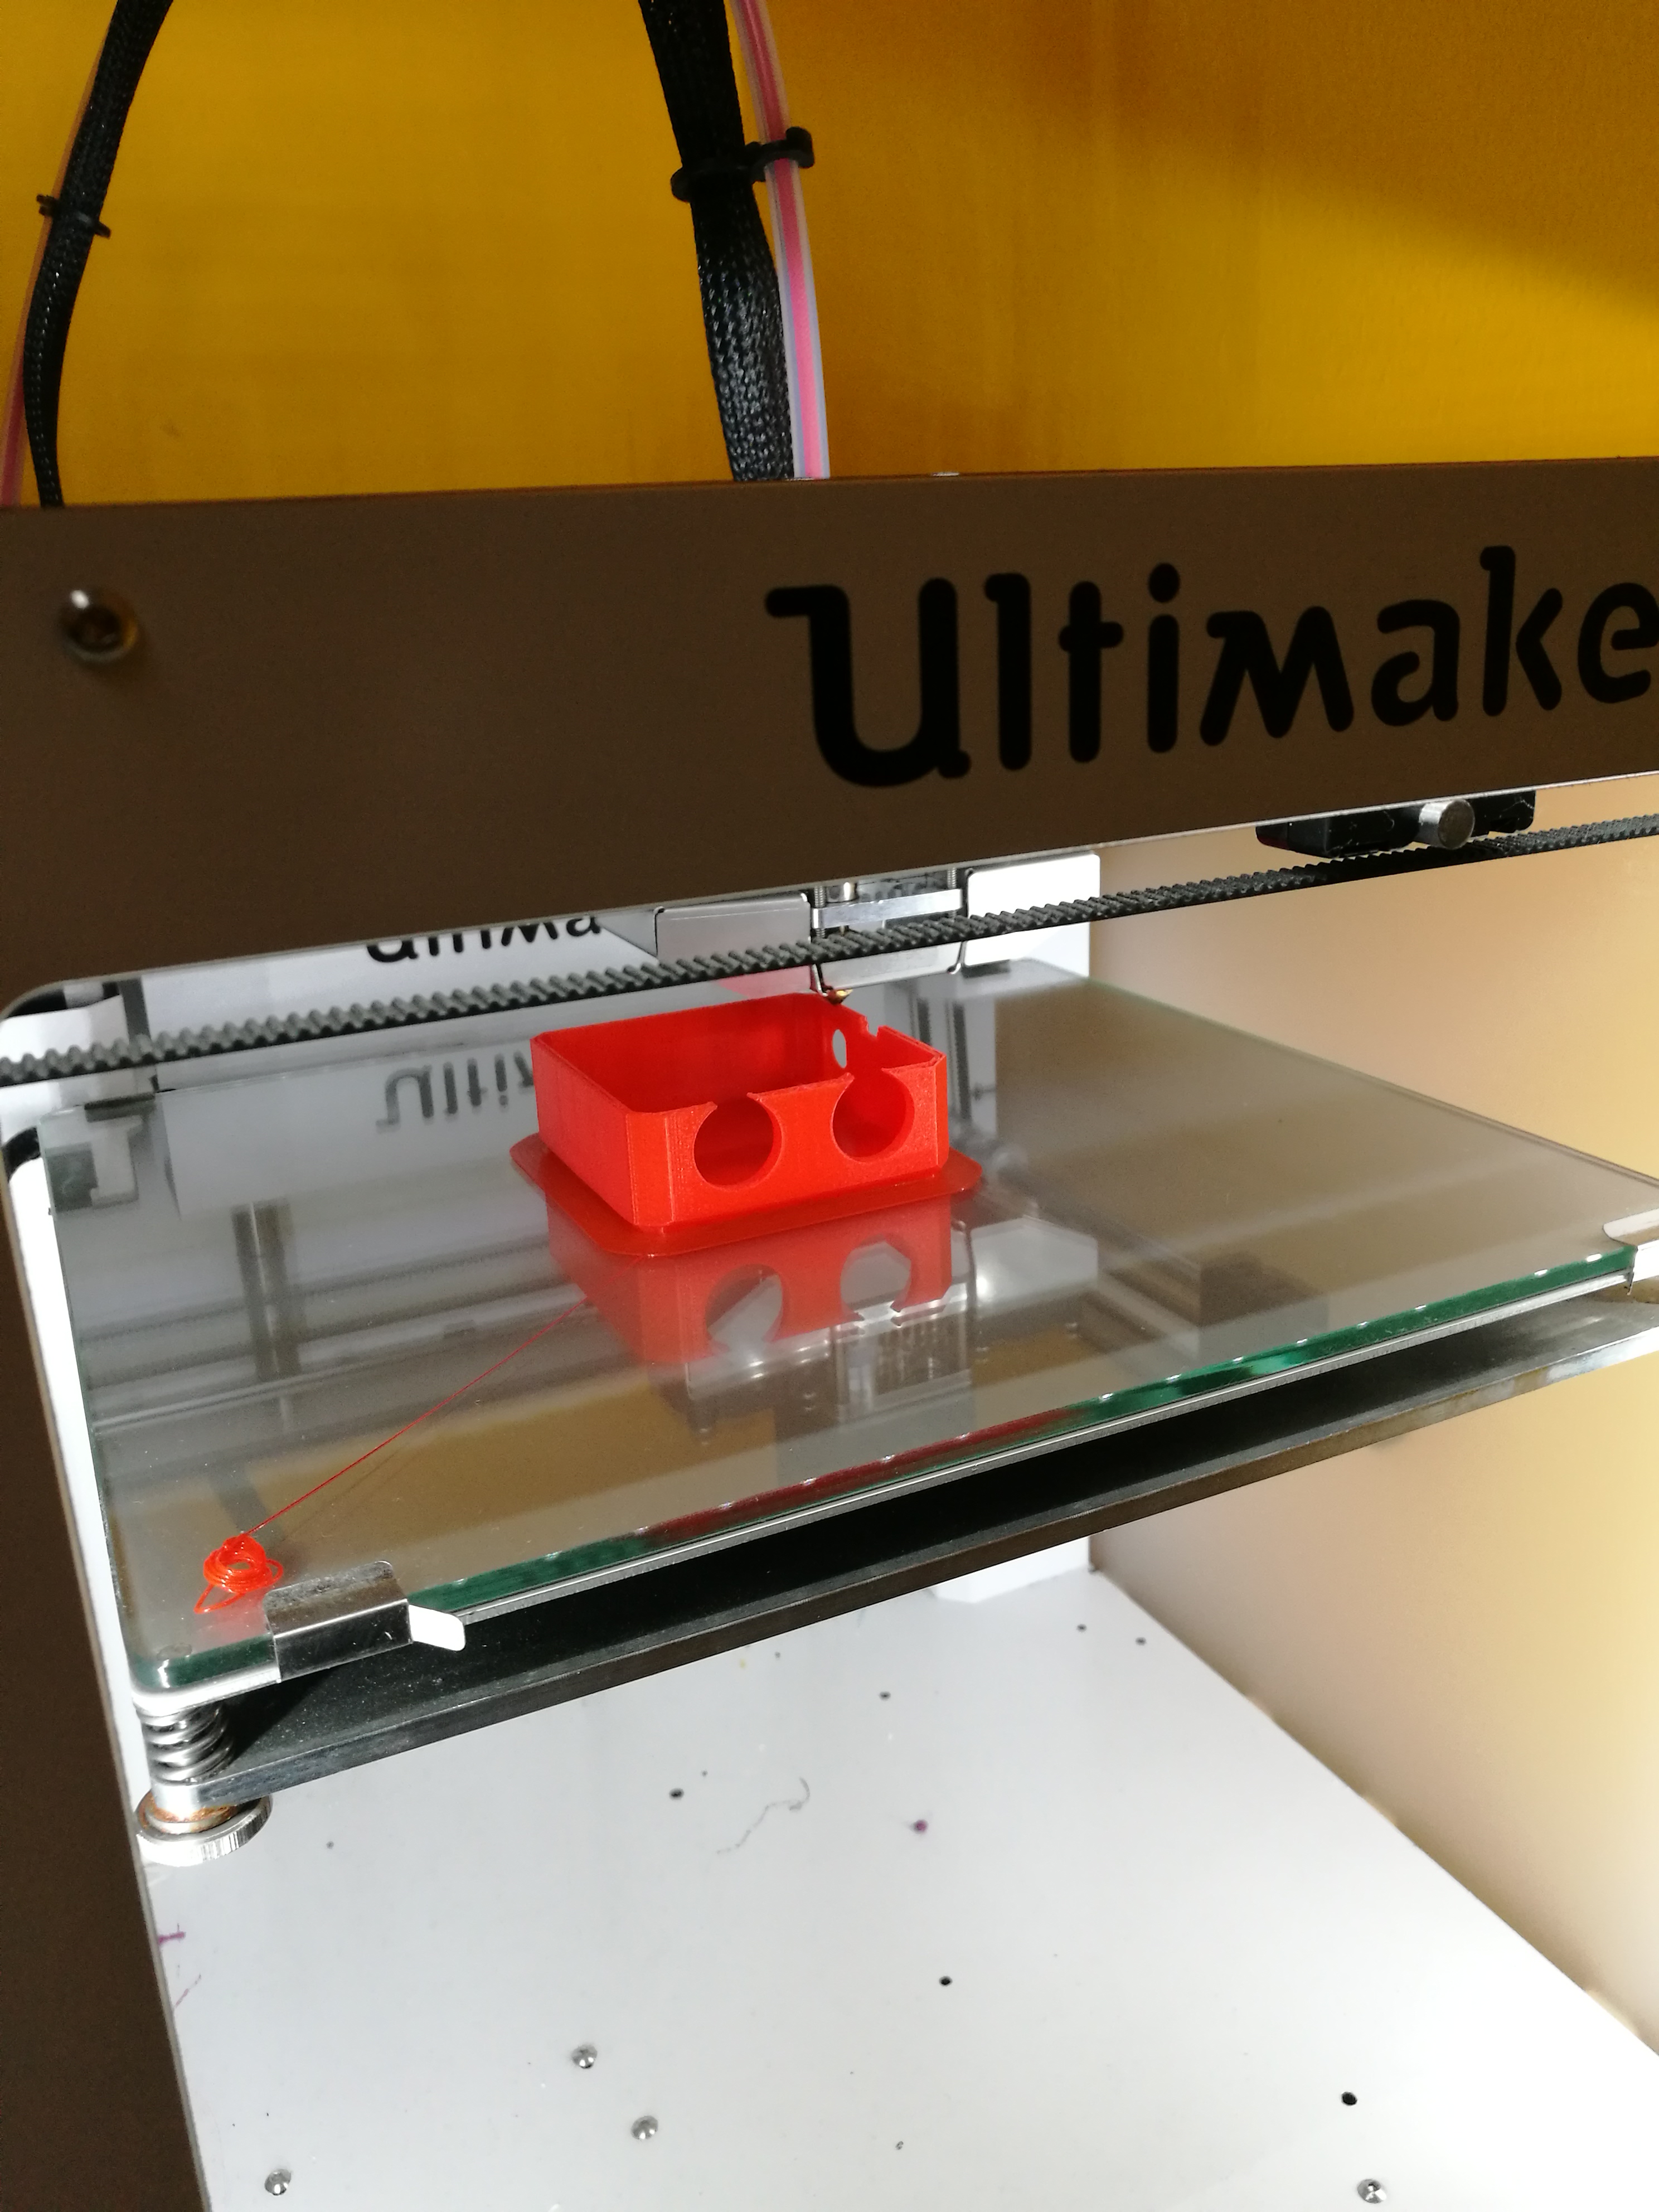
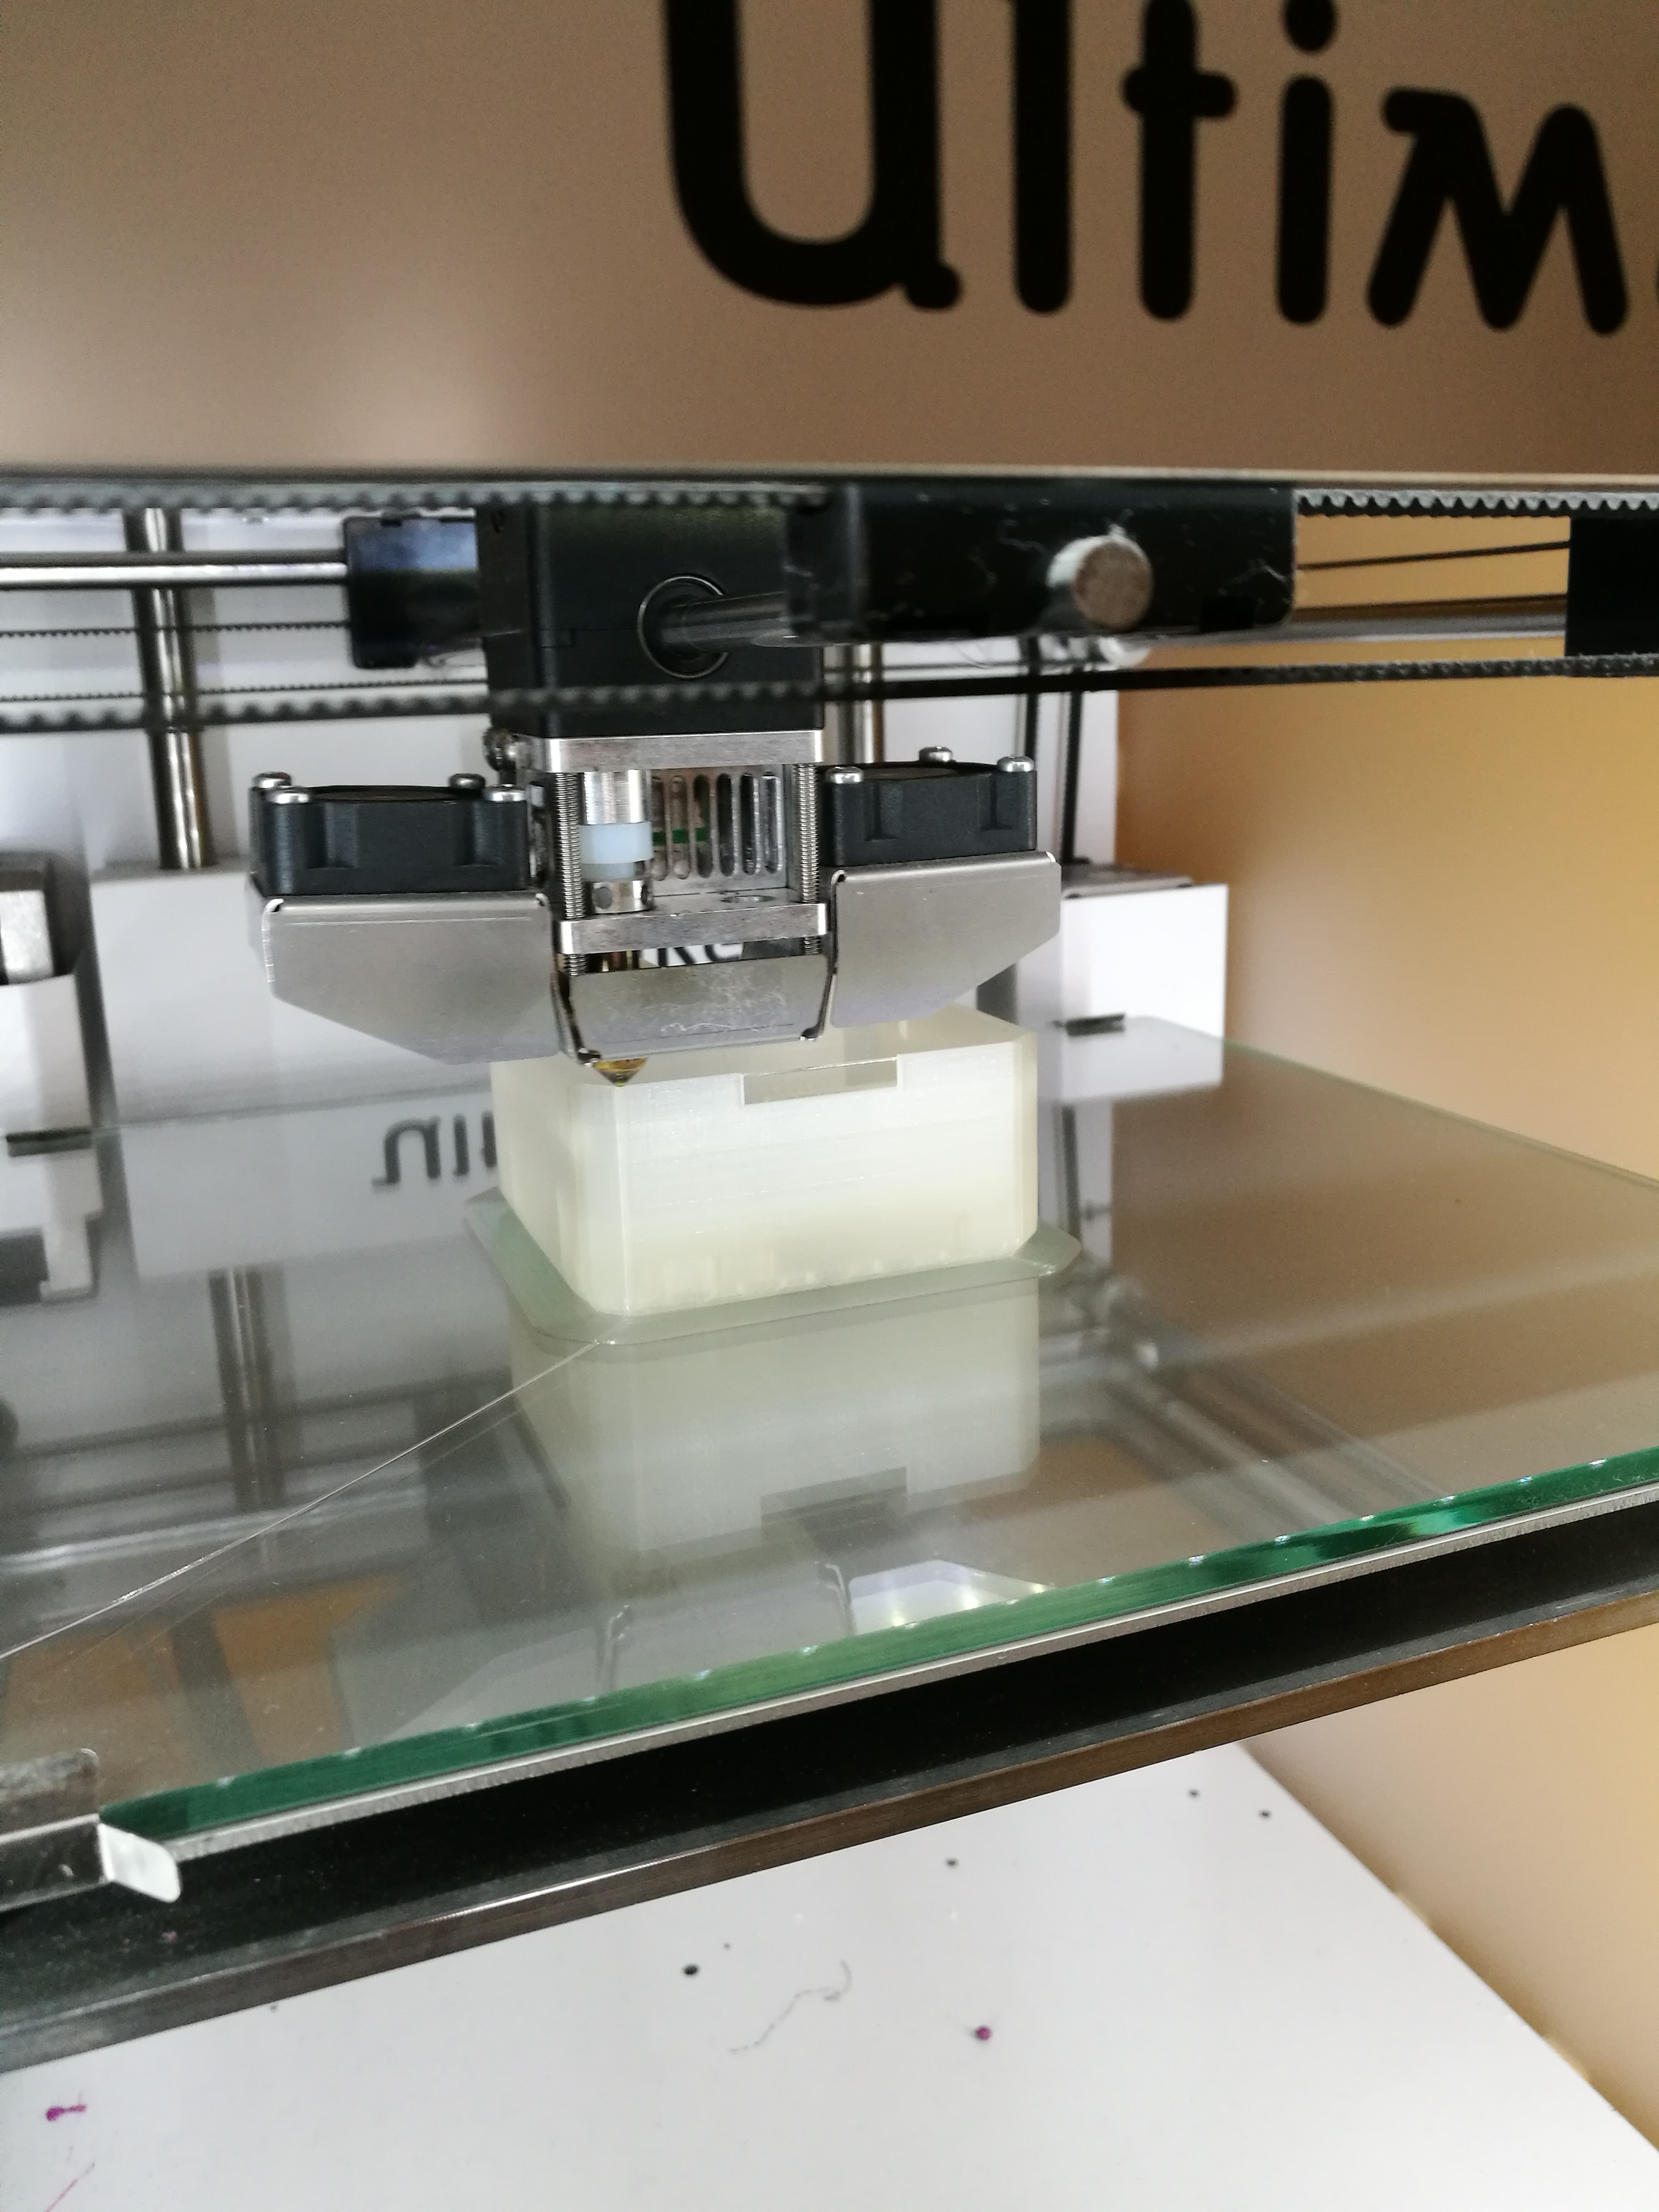
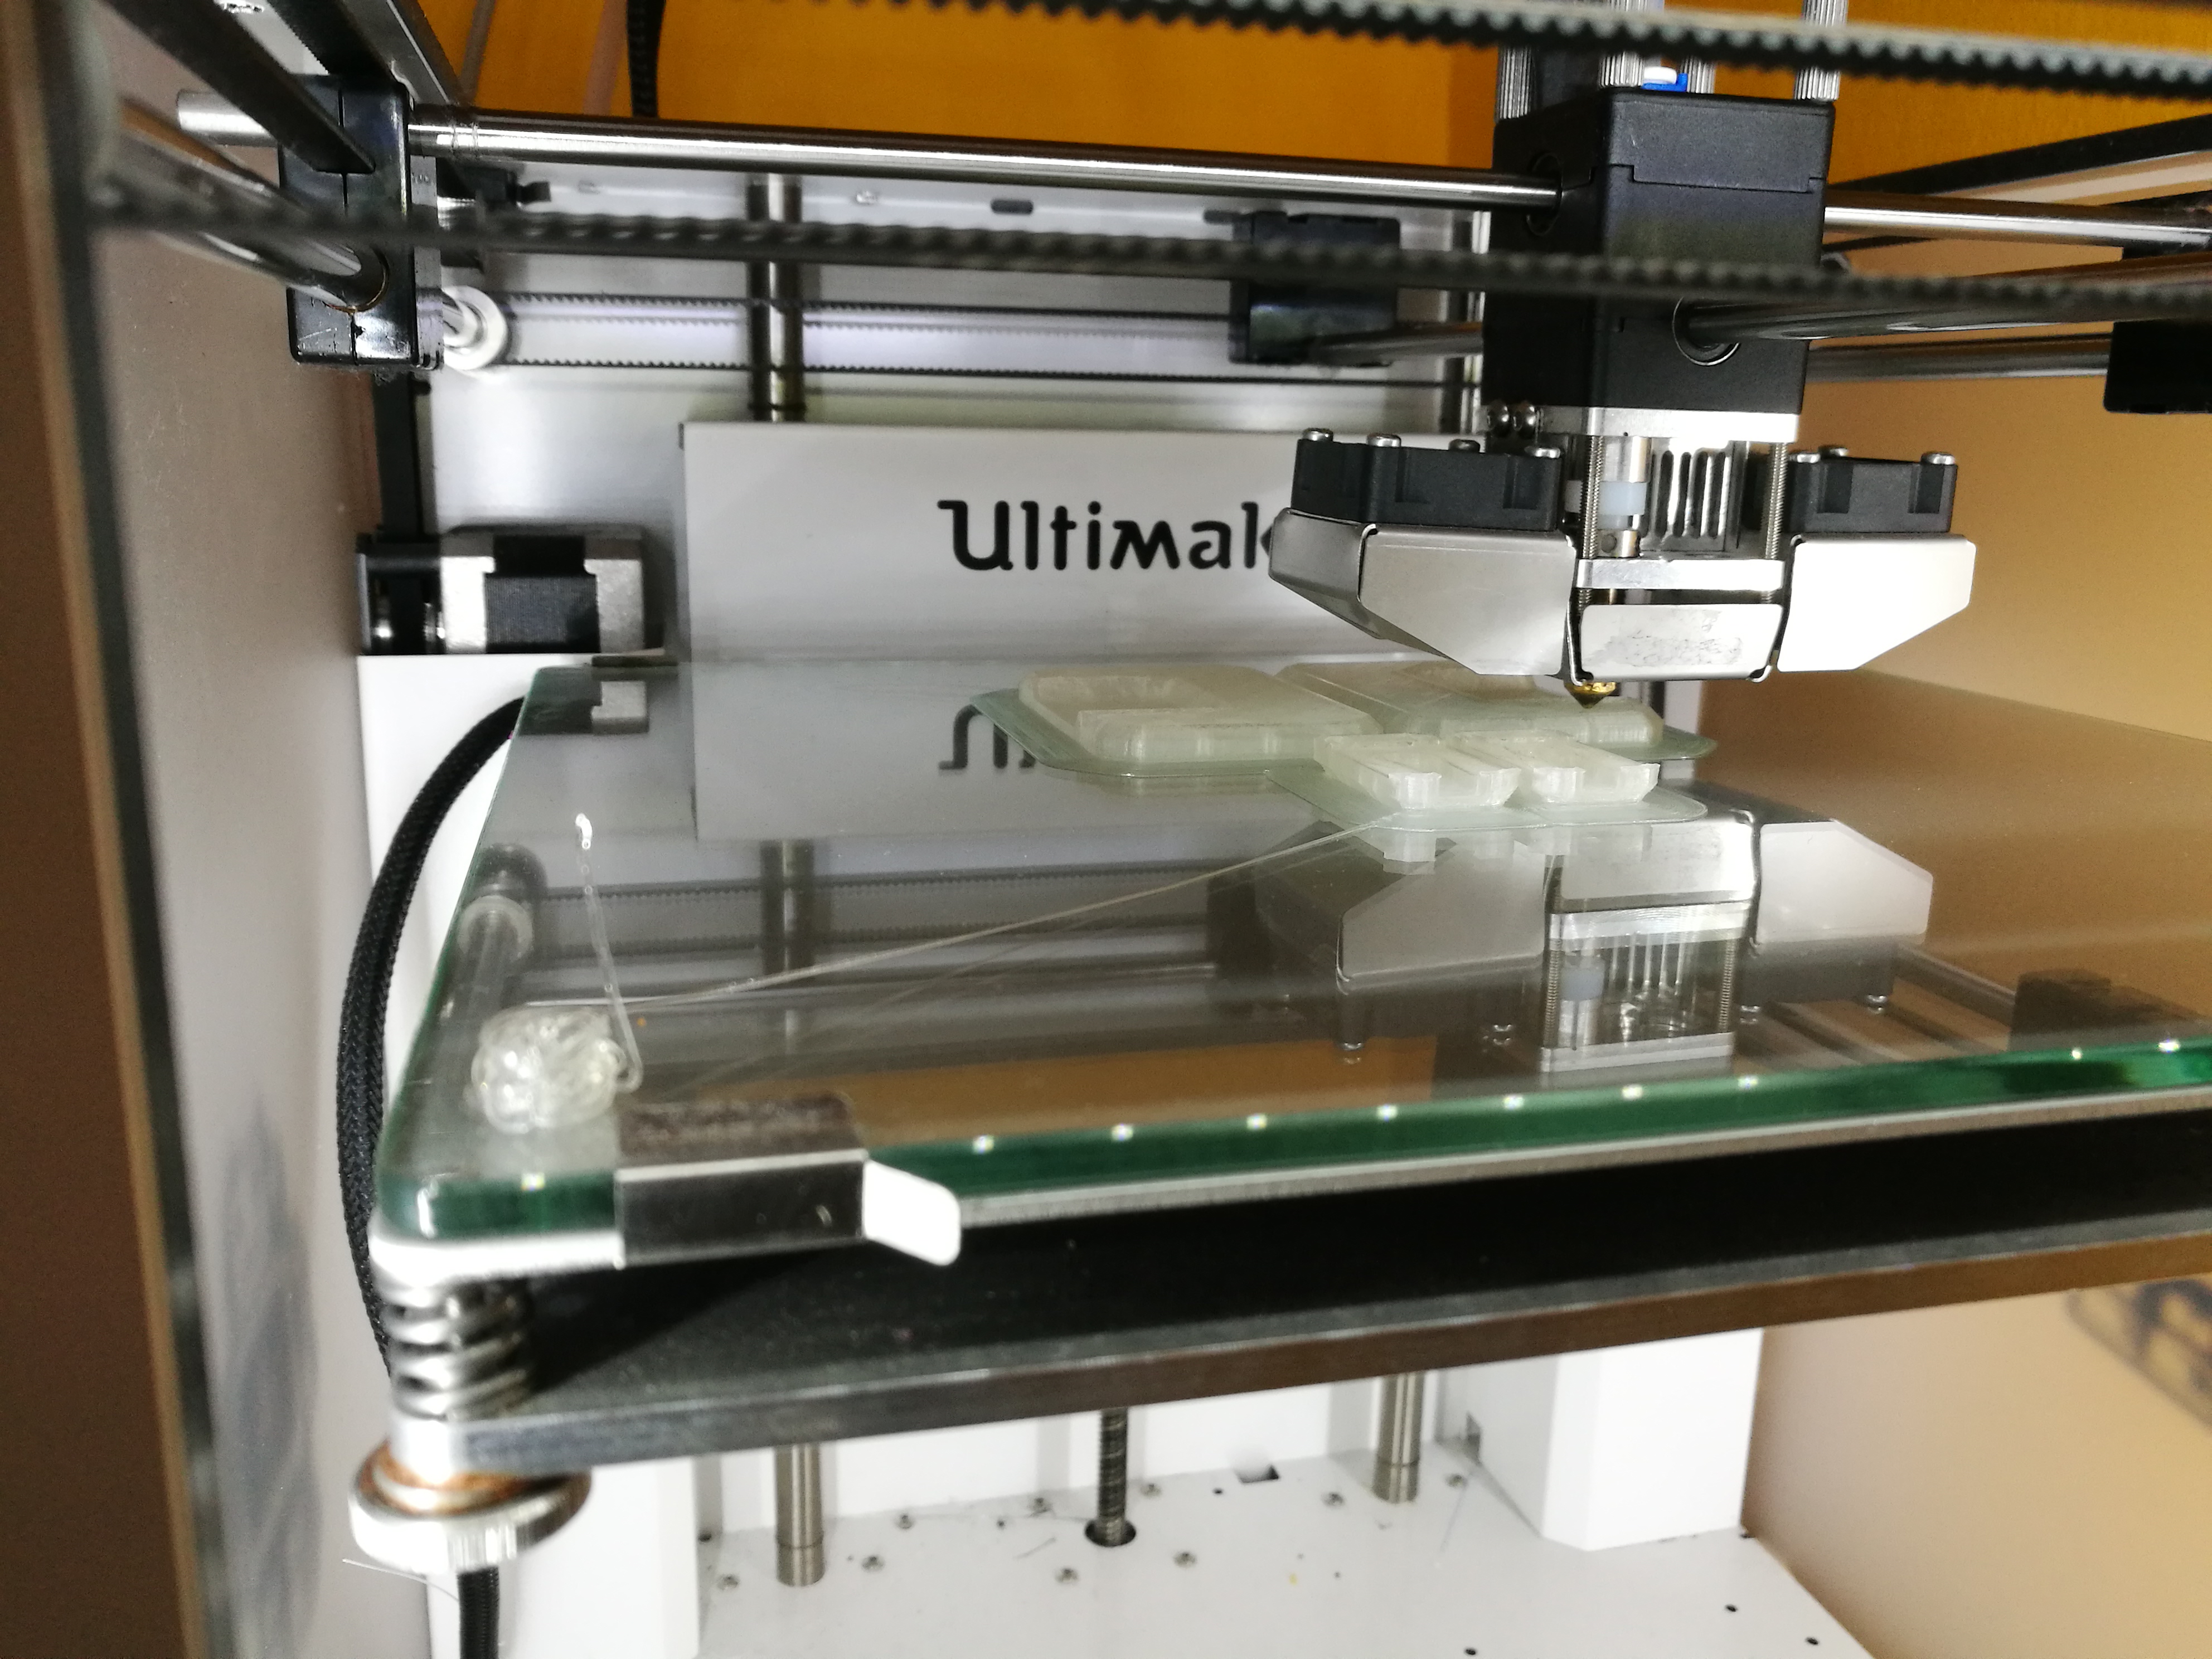
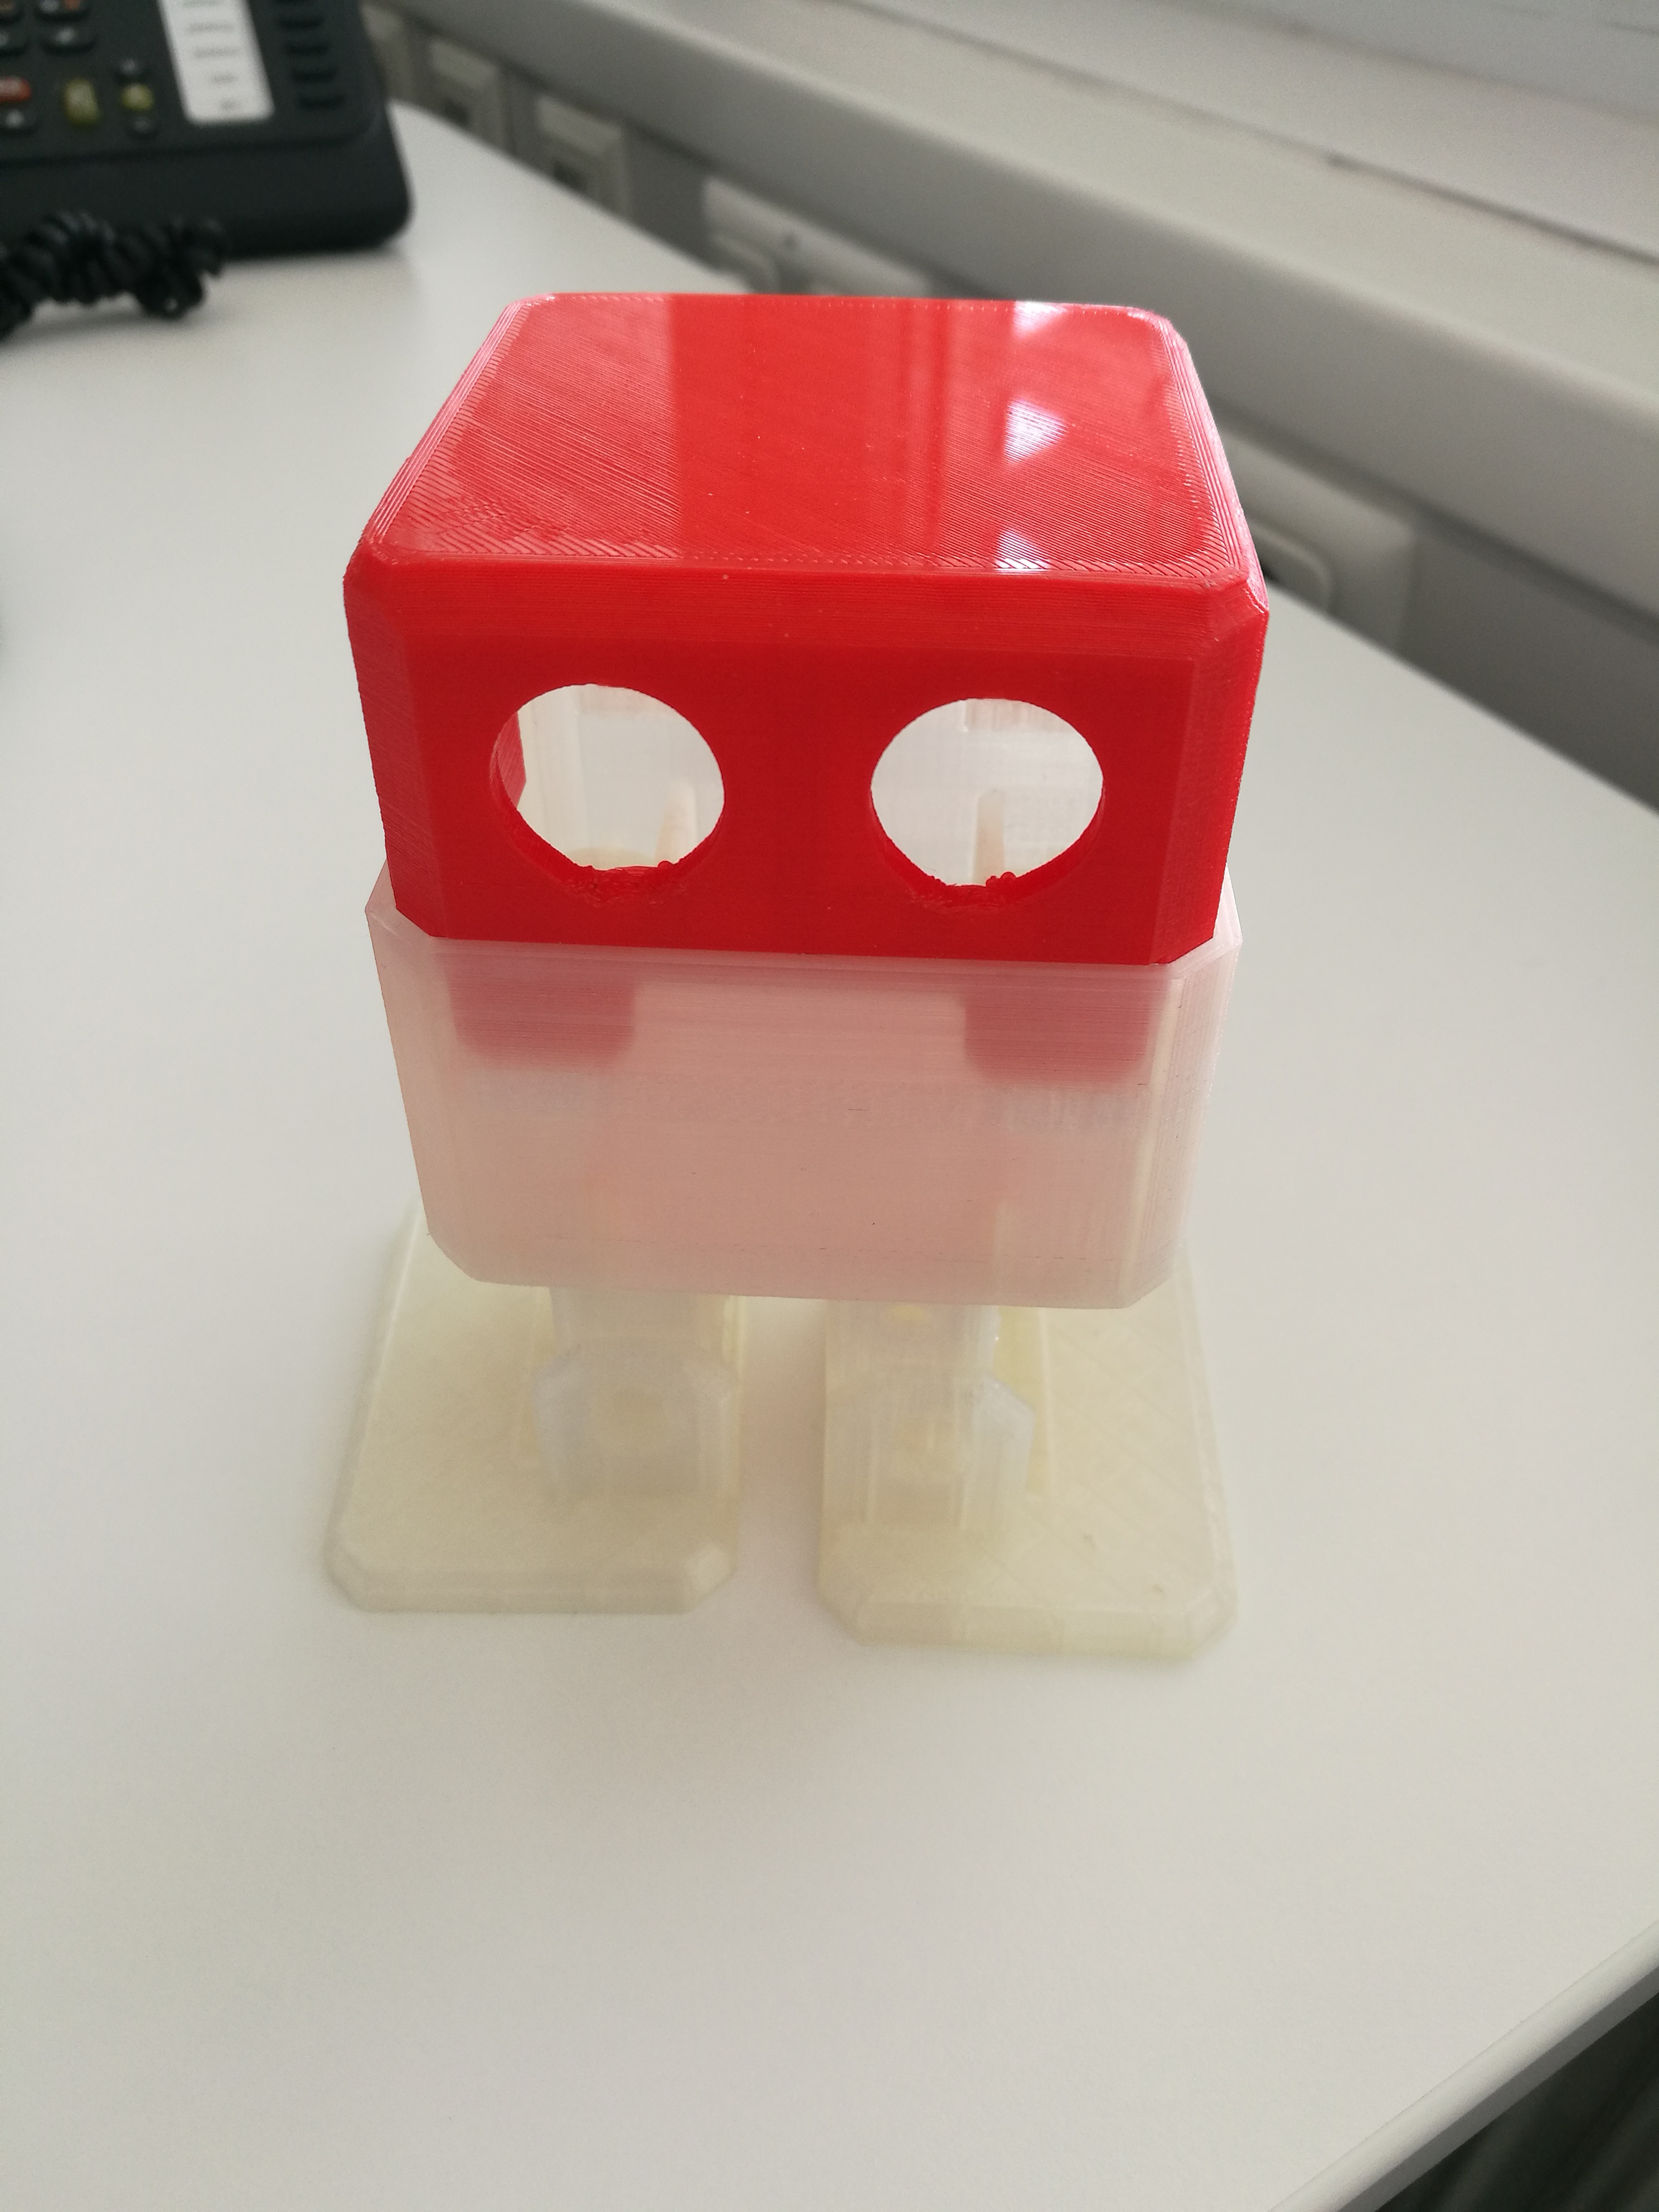
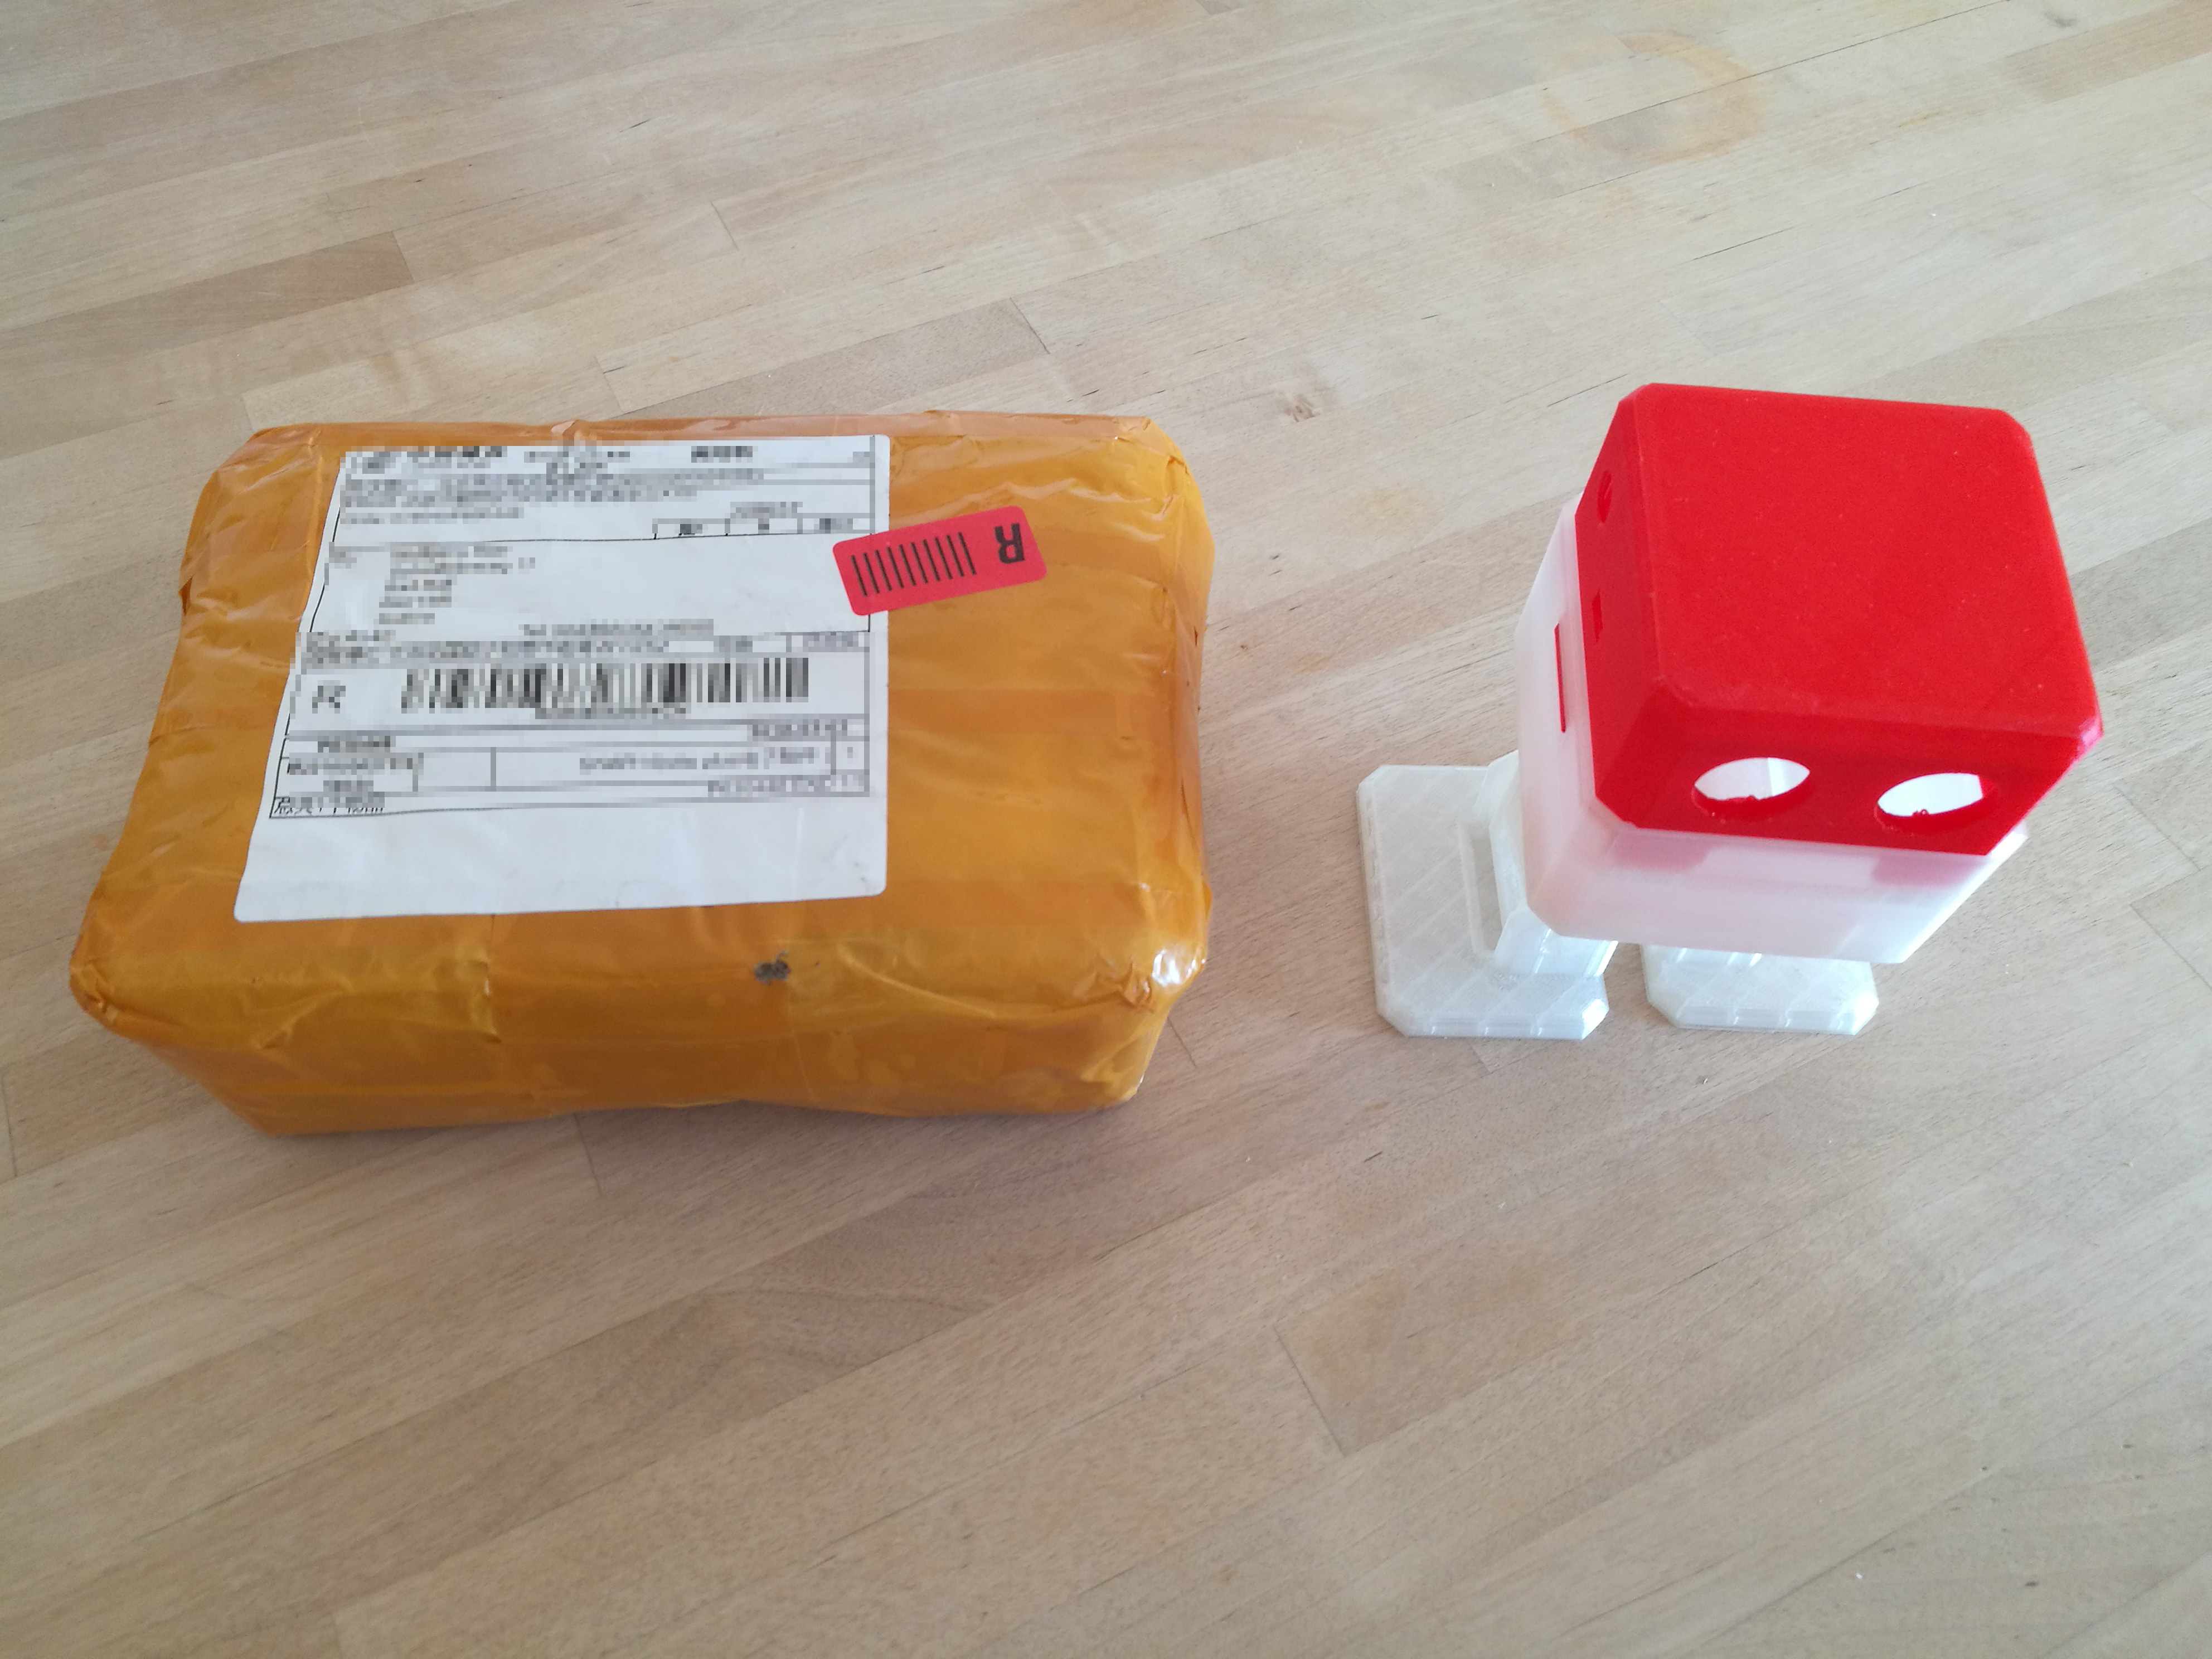
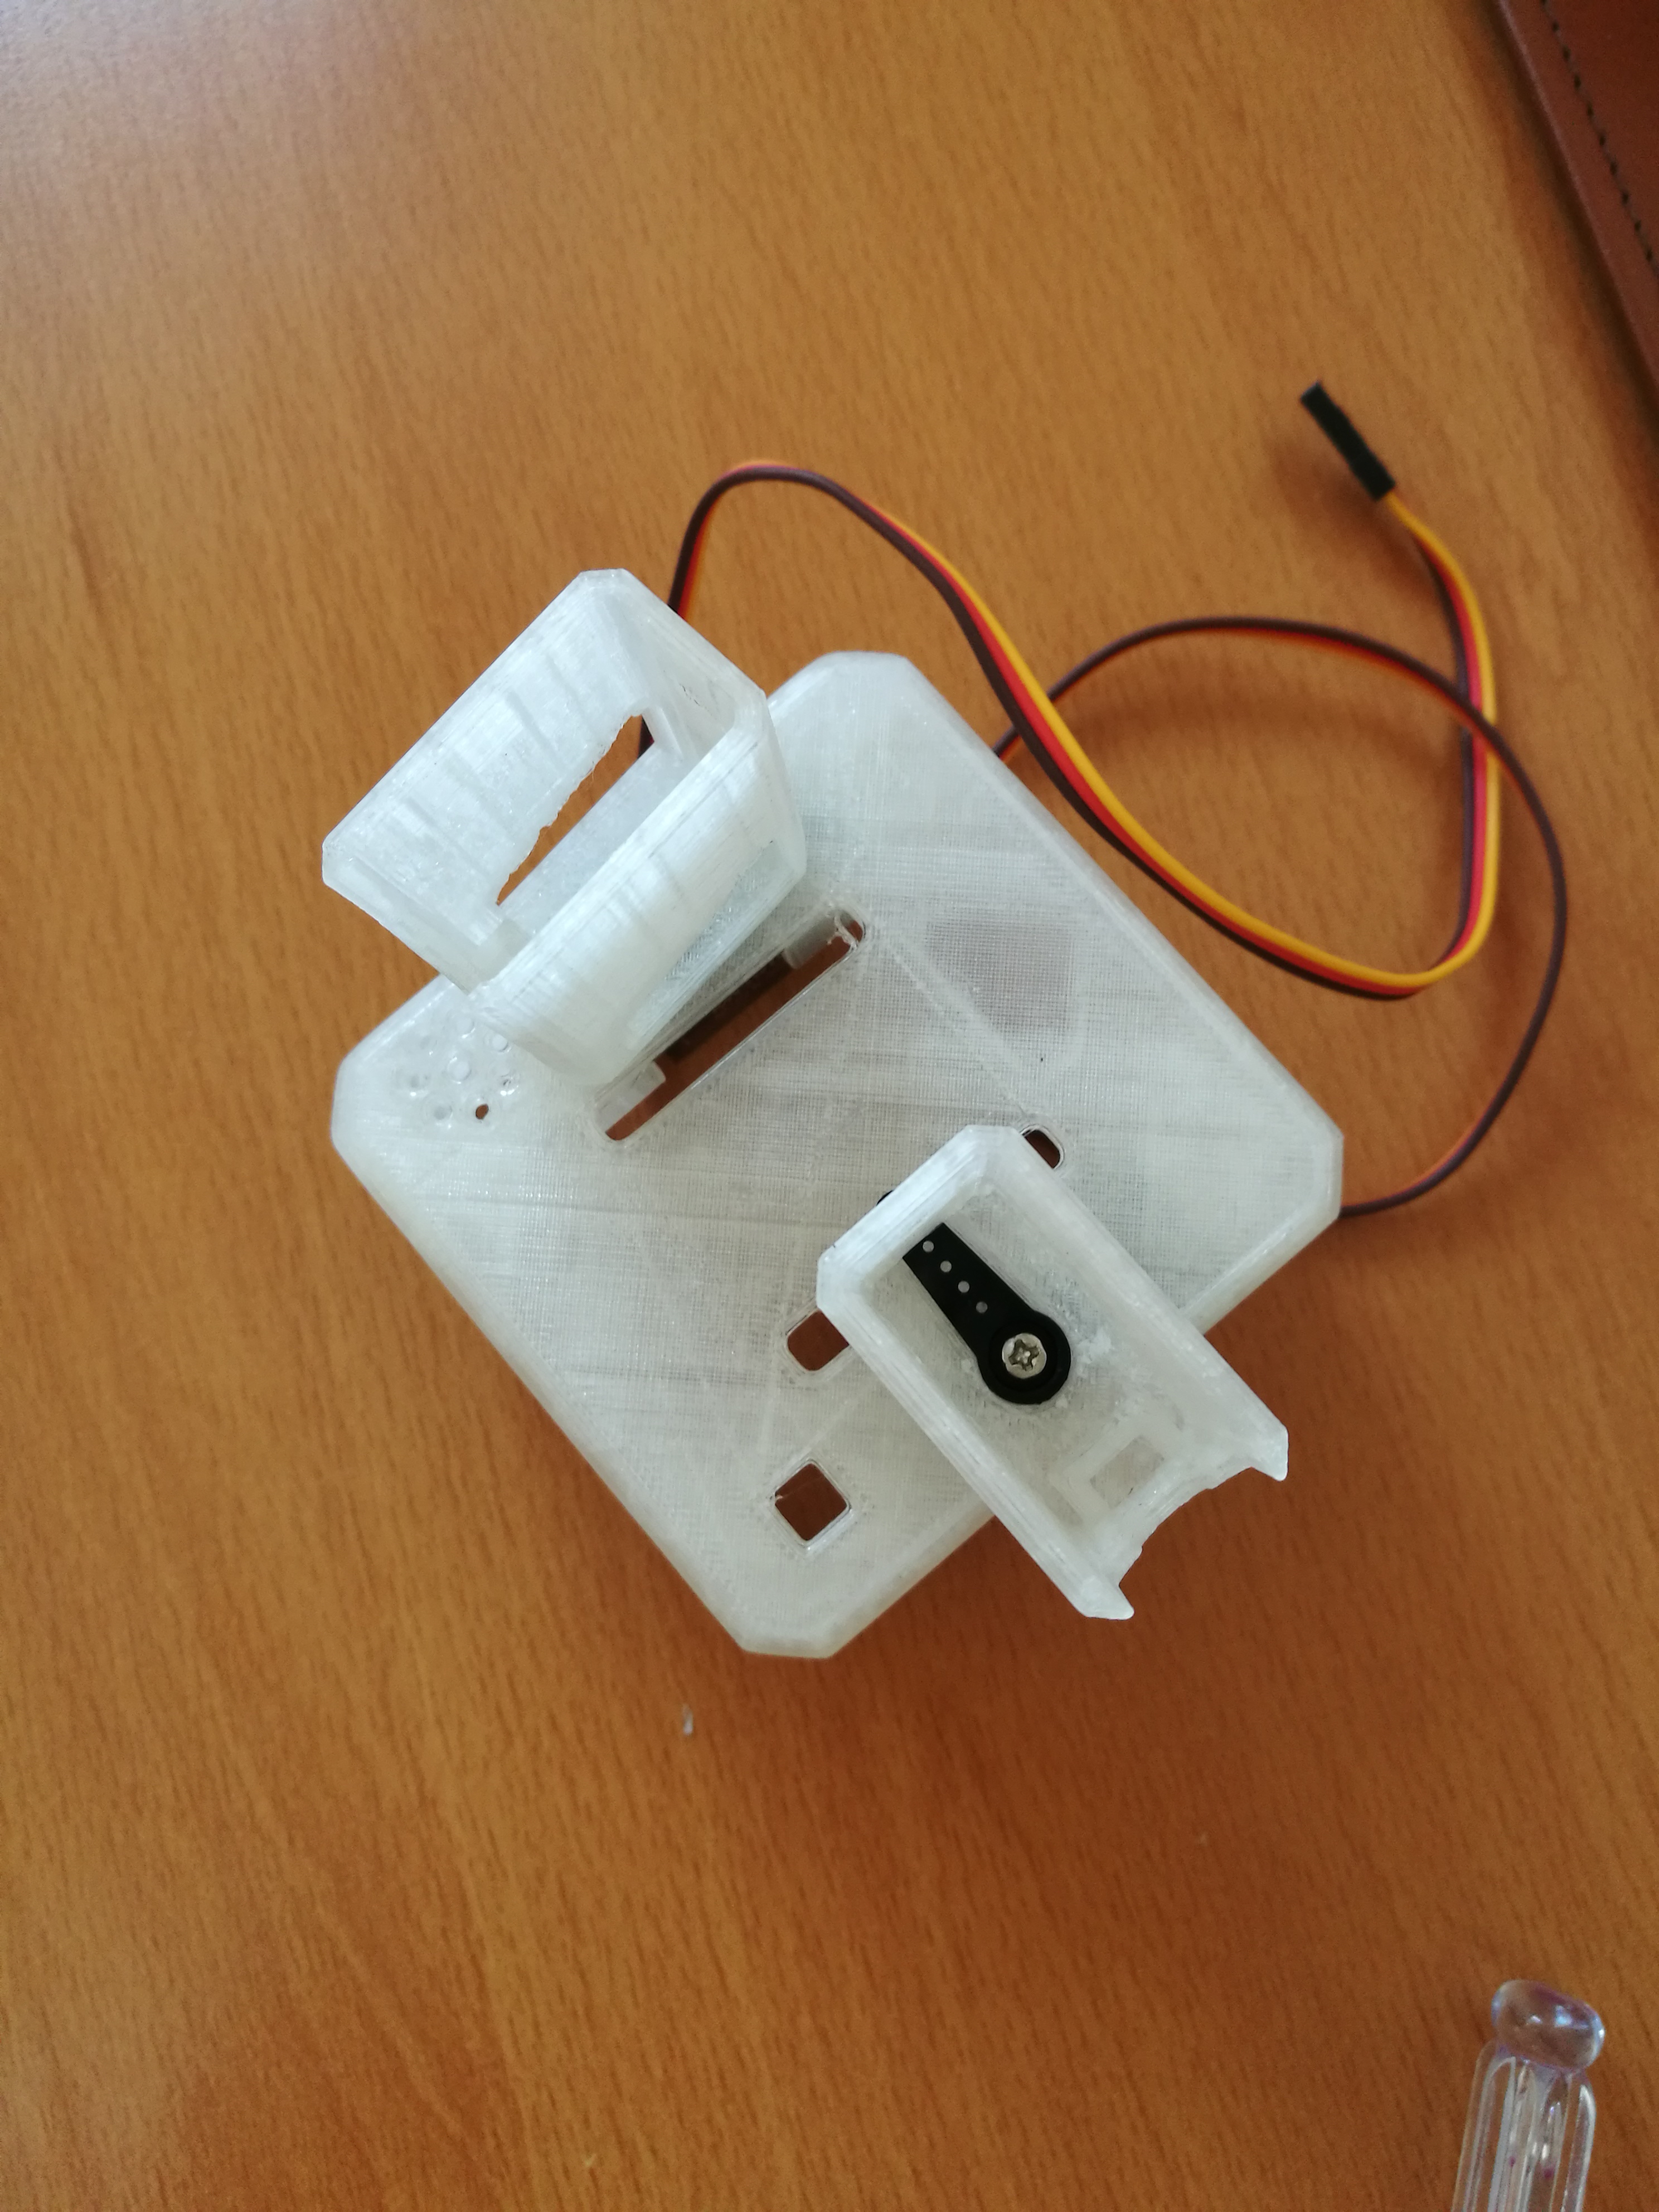
Fortunately, the company I work for (kudos to Dynatrace) strongly supports innovation and coding for kids. Therefore, I had the chance to print our own Otto robot within the Dynatrace lab and I was astonished how easy it is to reproduce the body parts offered on thingiverse. See some impressions of the printing process below:
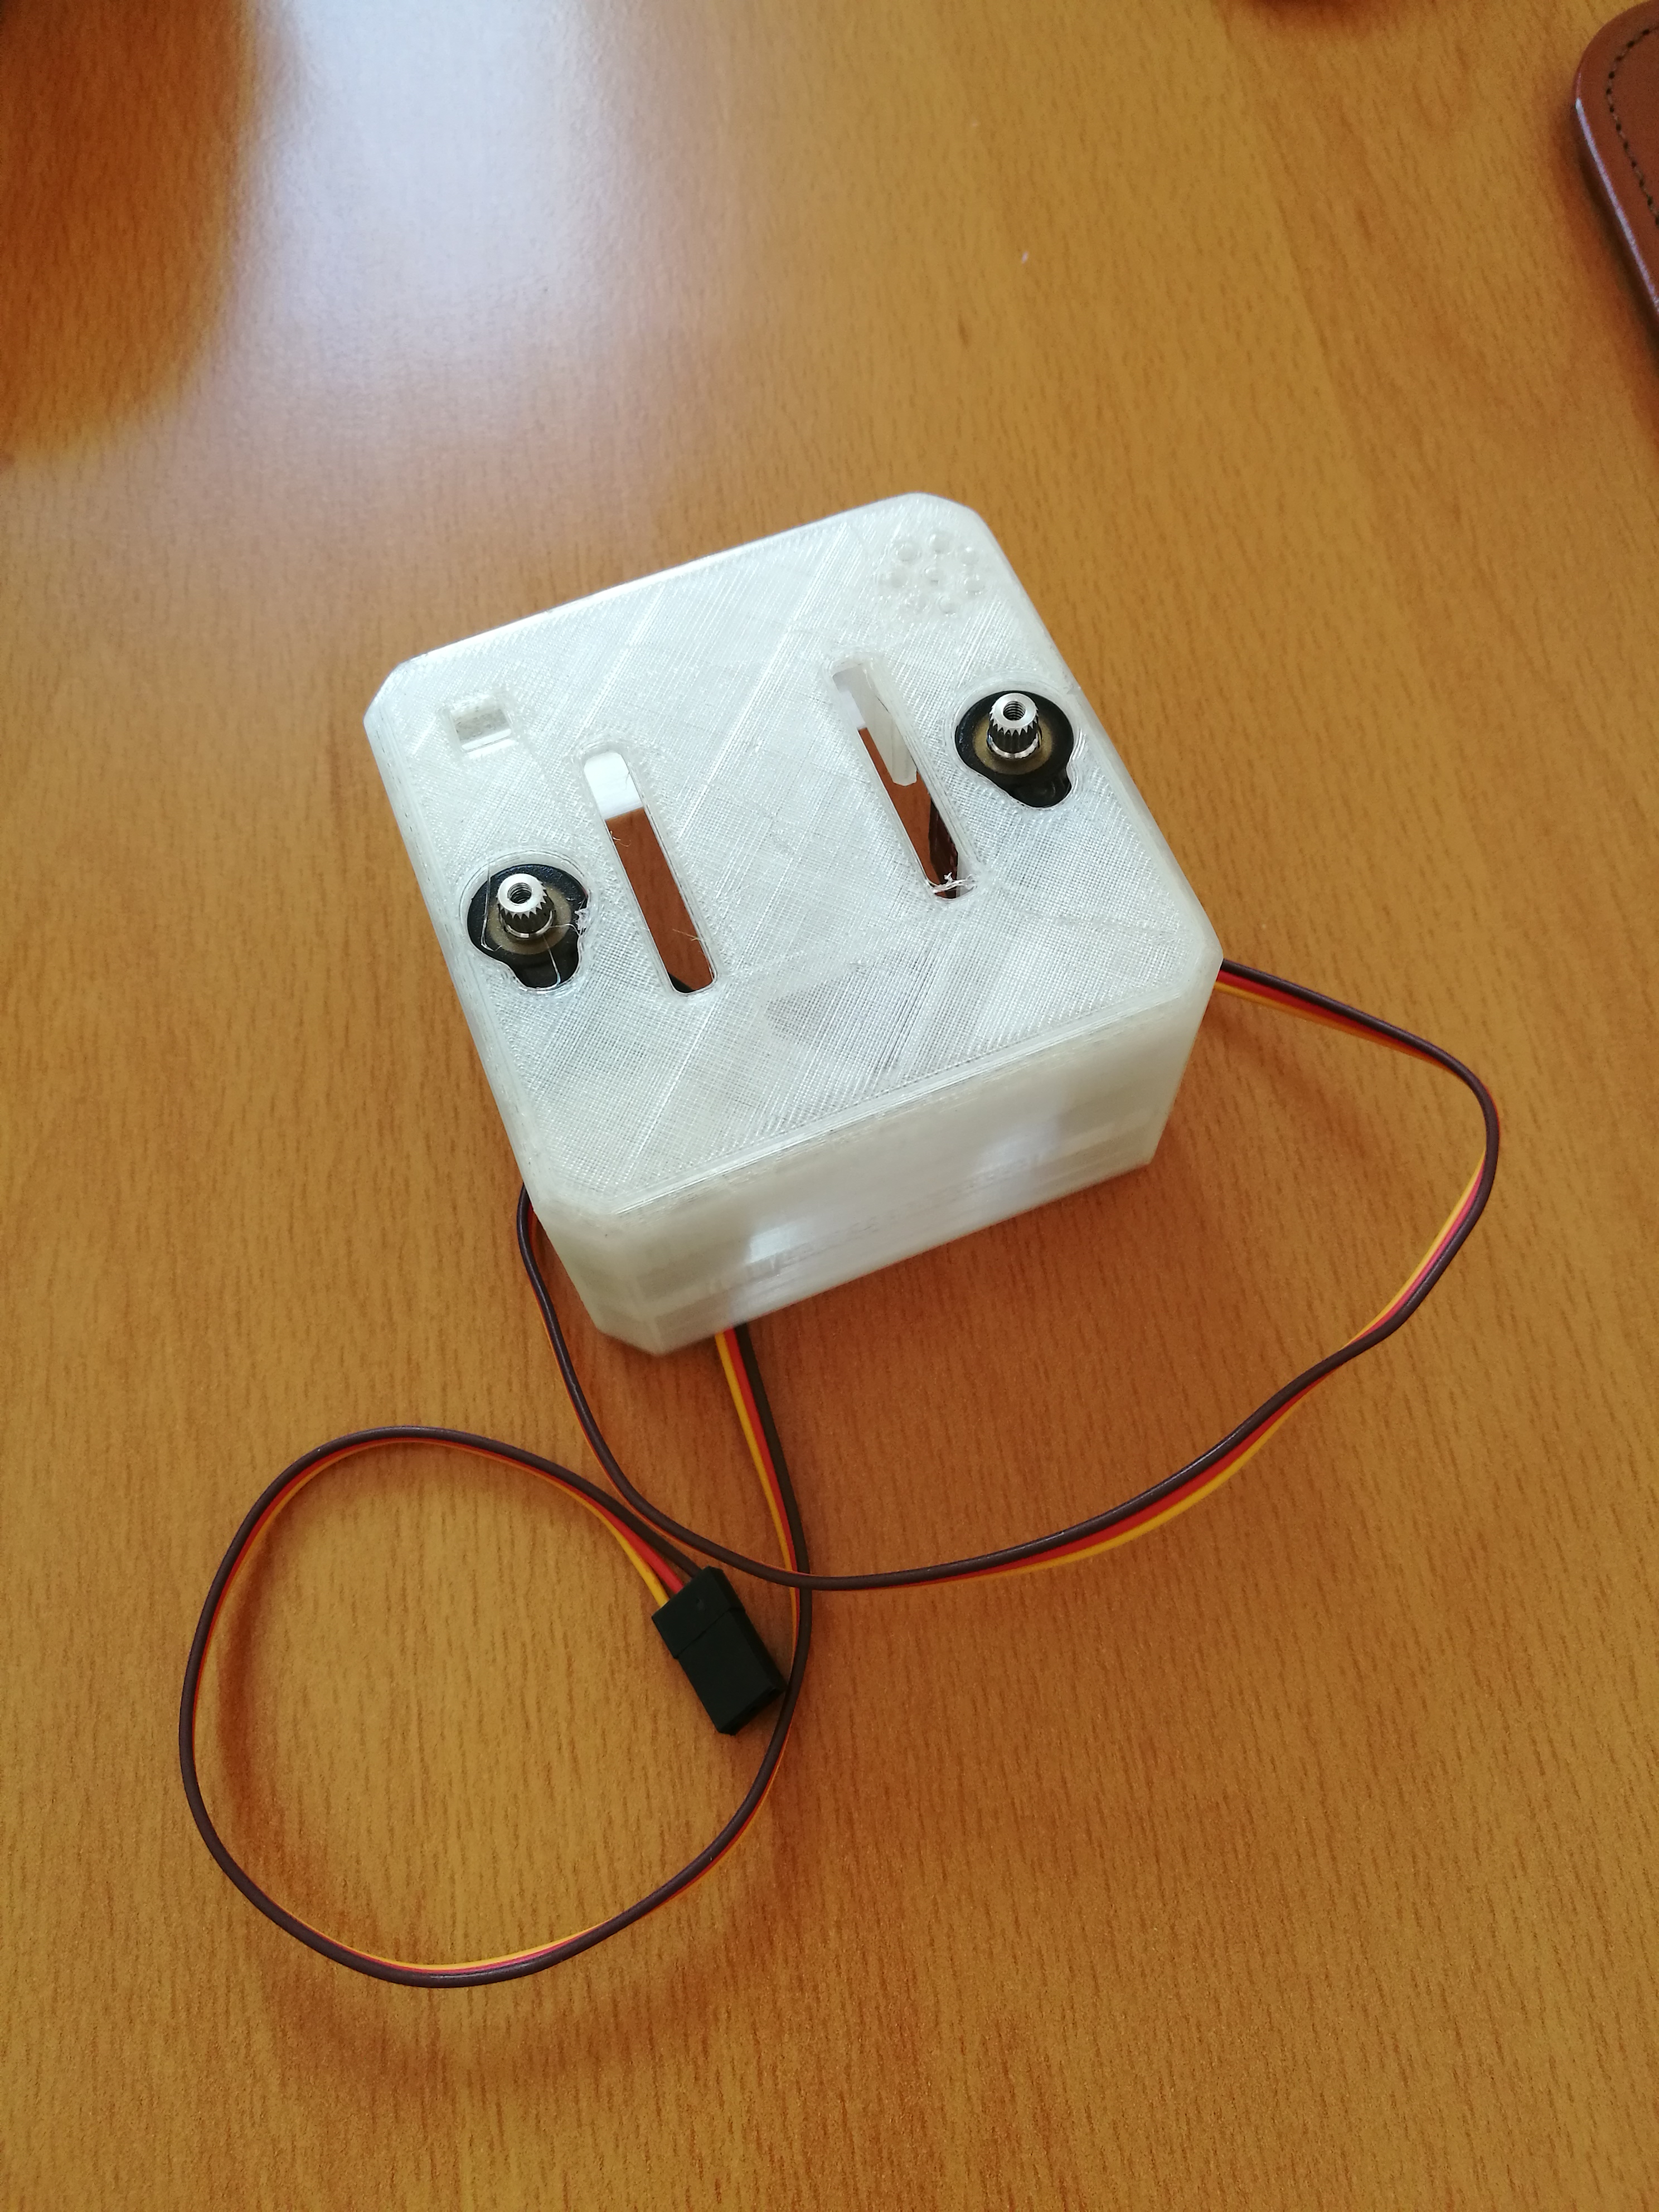
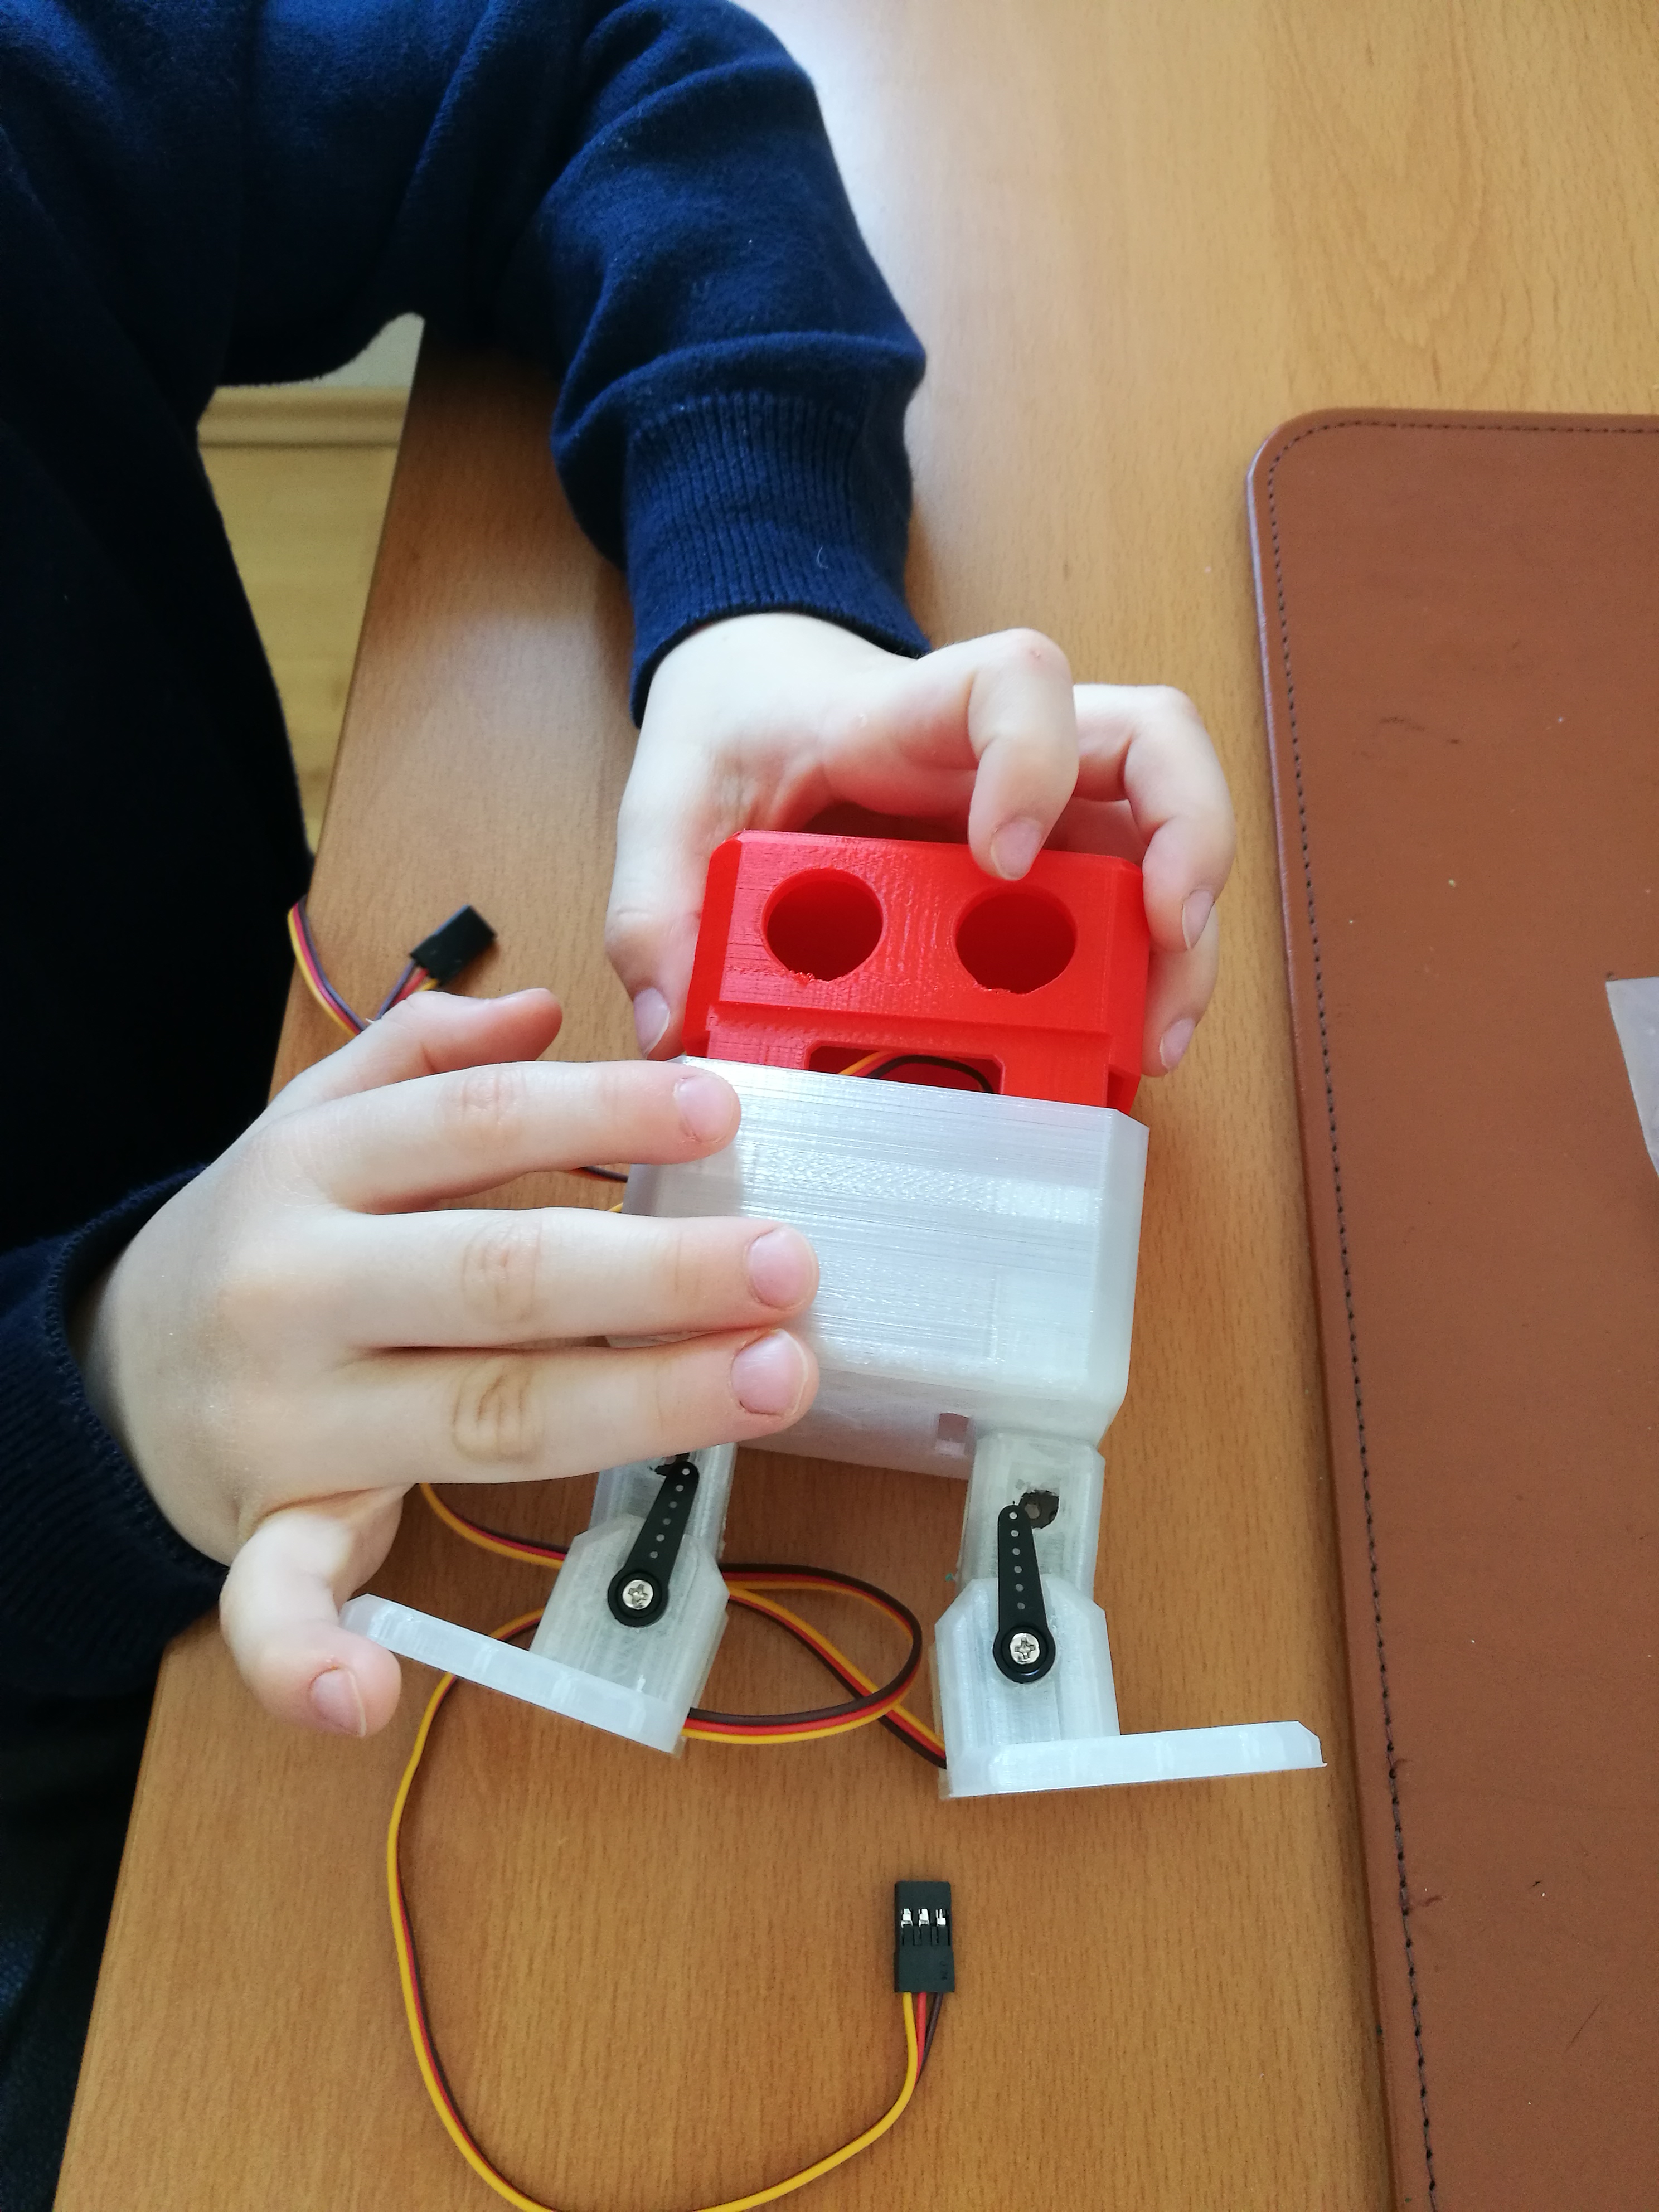
Otto’s brain arrived some weeks later and we immediately started to assemble the complete OttoDIY robot. With the assembly instructions given by Camilo Parra Palacio it was pretty easy to set the complete bot up and get it running within an hour.
One important hint here is to first check if the shipped servos do exactly fit into the dedicated sockets within your 3D print. Otherwise, you have to disassemble the complete bot again and rasp some more space.
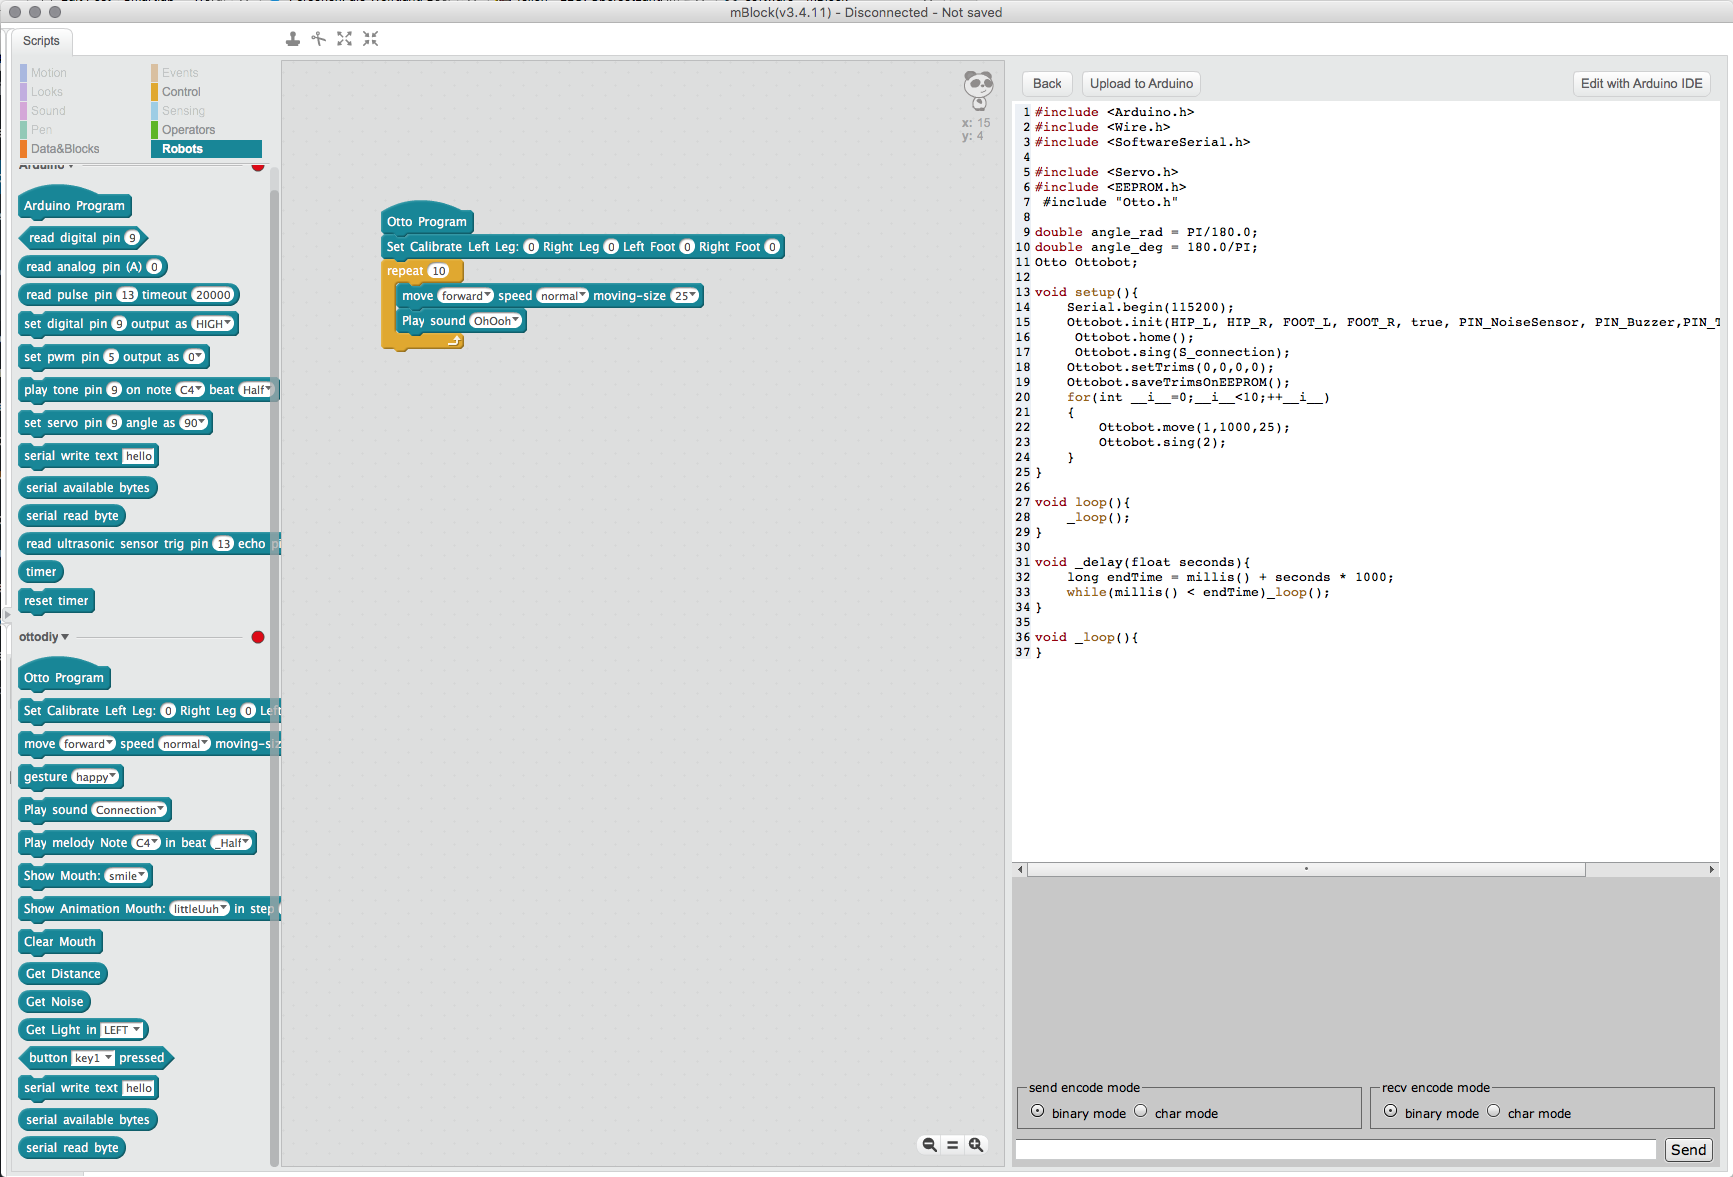
After we assembled the complete OttoDIY bot, we downloaded the mBlock coding environment that was specifically built for kids and children. mBlock is a combination of Scratch and Arduino that allows kids to play around with physical computing and program first hardware and bots by simply using a structured visual block programming language, as it is shown below:
After some practice we finally were able to teach our Otto robot some quite cool dance moves, see below: